How to Create/Edit Custom Fields
Updated May 2, 2022
Custom fields can be added in order to track information specific to customers, subscribers, insertions, employees, editorial items, subscriptions and subscribers. Custom fields can then be added to Flex Reports for customized reporting purposes.
To access the Custom Fields screen, select menu option Management > Site Setup > Website Setup or for newer sites, Person Icon in Upper Right > Website Setup. Under Site Customization section click Custom Fields. A list of existing Custom Fields is displayed.
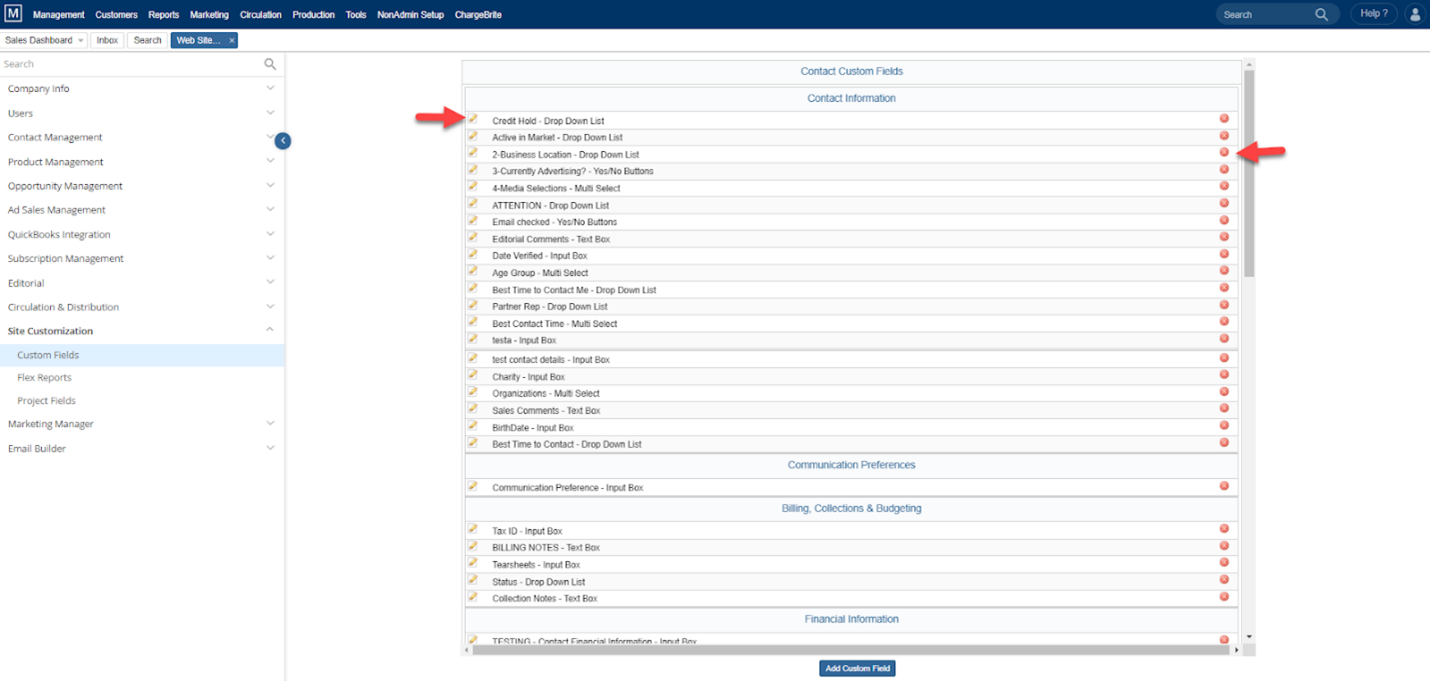
To Edit a Custom Field, click the pencil icon. To delete a Custom Field, click the red circle icon. Drag the Custom Field Up and Down to move it within the list.
To Add a Custom Field
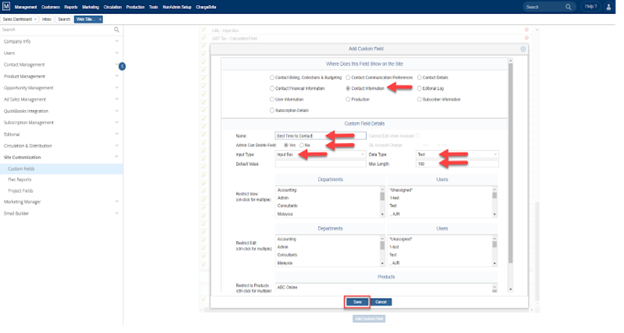
- Click Add Custom Field. Add Custom Fields page is displayed.
- Choose the section of the site, where you want the Custom Field to appear.
– To choose the page, just click the radio button.
- Under Custom Field Details section, Enter the Custom Field name.
- Choose whether Admin Can Delete Field or not.
- Choose Input Type for this custom field from the drop-down list. Enter the Default value if any for this particular custom field.
- You can Restrict View/Edit/Zones to the chosen Departments and Users.
- Choose Data Type of the custom field from the drop-down list.
- Enter the maximum length of character a user can enter for this custom field.
- Click Save to save the information.
We want to hear from you!
videos relating to


