Inbox Notifications & Announcements Panel
Inbox Notifications
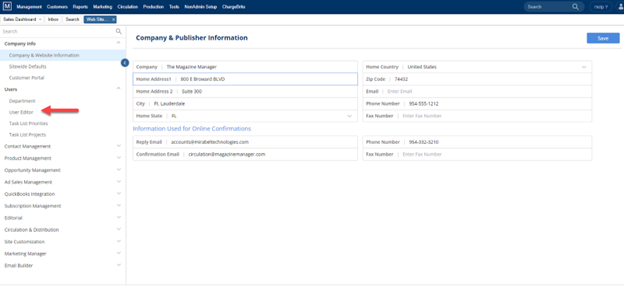
Select menu option Management > Users > User Editor or for newer sites, Person Icon in Upper Right > User Setup
OR

-
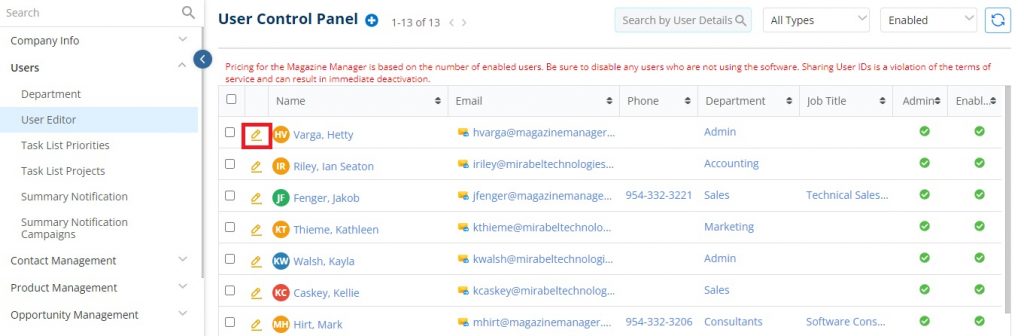
- Click the pencil icon next to the user you want to manage notifications for.
- Click the pencil icon next to the user you want to manage notifications for.
-
- Click the “Hamburger” button to bring forward additional settings
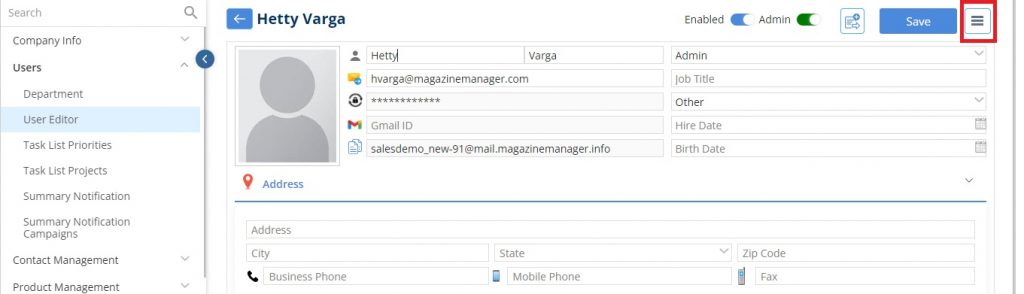
- Click the “Hamburger” button to bring forward additional settings
-
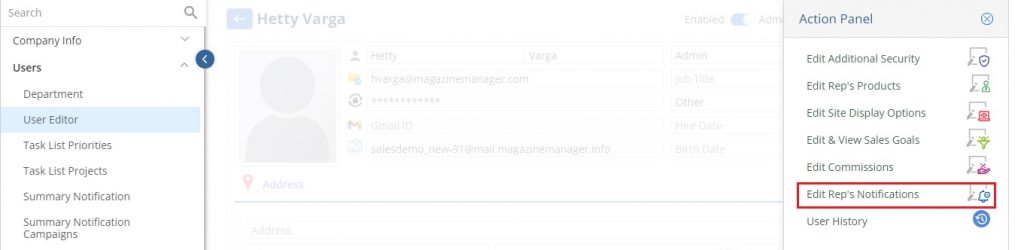
- Click “Edit Rep’s Notifications”
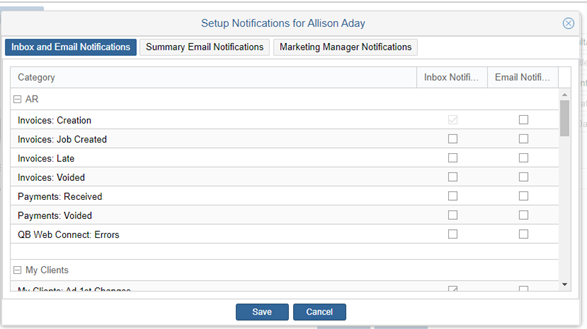
- Here an administrator can set specifically what options a user/rep gets notified of.
- This allows team members to be proactively alerted when crucial activities occur, either in their MM inbox or by email.
- Click “Edit Rep’s Notifications”
-
- Previously, there was the AR Category, the My Clients category, and the Production category.
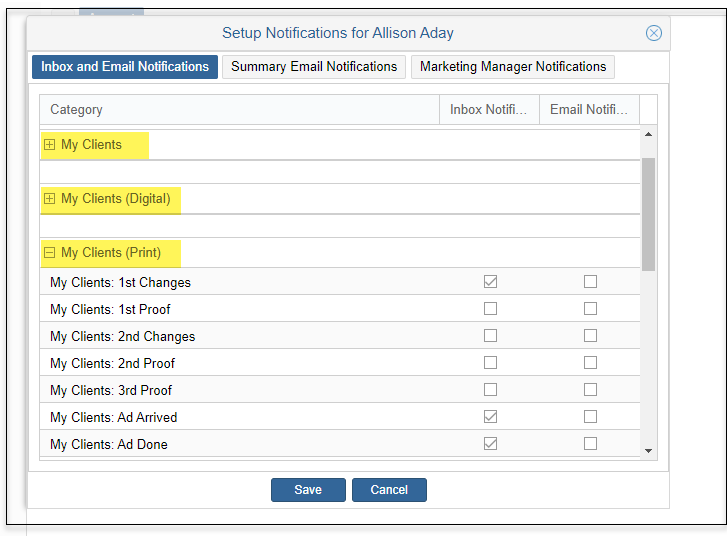
- Now, the My Clients category has been divided into three categories. With the My Clients option, users can choose to receive notifications when their clients perform basic production actions or move an order/project from stage to stage.
- My Clients – through here, users can set up notifications specific to their clients for basic actions such as payment received, new proposals, notes added, etc.
- My Clients Digital – through here, users can set up notifications for when their clients move a digital product order/project from stage to stage. This includes the default stages and the custom stages created for digital products.
- My Clients Print – through here users can set up notifications for when their clients move a print product order/project from stage to stage. This includes the default stages and the custom stages created for print products.
- Note: The rep notification function for custom stages will only be available for those with The Marketing Manager enabled.
-
- Now, the Production category has been divided into three categories. With the Production option, users can choose to receive notifications when anyone (not just their assigned clients) performs basic production actions or move an order/project from stage to stage.
-
- Production – through here, users can set up notifications for production-related actions: Customer portal note added, item uploaded to Production Job page, Pickup From information updates, notify when Set as Designer and Requires Design. This is for ANY order/project – not just that user’s clients.
- Production Digital – through here, users can set up notifications for when ANY digital order/project changes stages. This includes default stages and the custom stages created for digital products.
-
- Production Print – through here, users can set up notifications for when ANY print order/project changes stages. This includes default stages and the custom stages created for print products.
- Note: The rep notification function for custom stages will only be available for those with the Marketing Manager enabled.
- Production Print – through here, users can set up notifications for when ANY print order/project changes stages. This includes default stages and the custom stages created for print products.
Places where the Change Stage action will trigger Inbox and Email Notifications:
-
- Production Module – Search Results
- Stage Columns – Change Stage
- Current Stage Column – Change Stage
- Job Jacket – Change Stage
- Kanban View – Change Stage
- Gantt View – Change Stage
- Calendar View – Change Stage
- Batch Update – Change Stage
- Production Module – Search Results
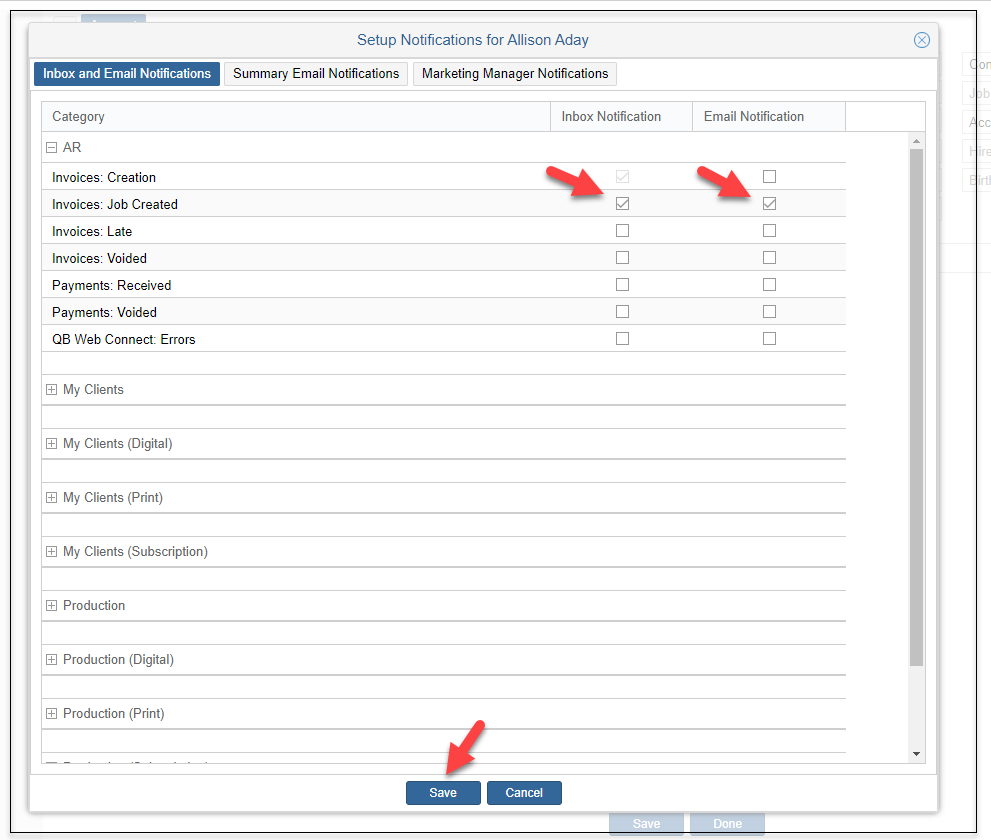
You can select if the notification is to appear in the Inbox (MM), in the user’s Email Inbox, or both.
-
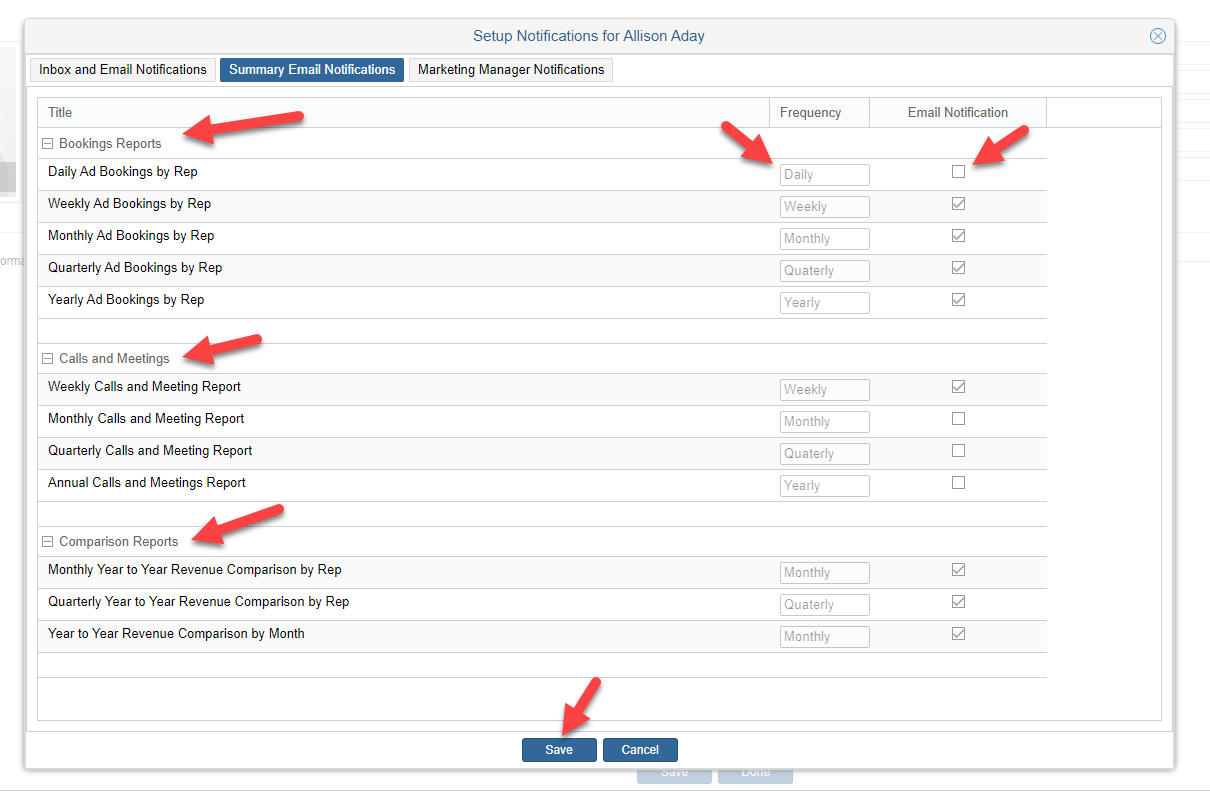
- Summary Notifications can be set here also. These include:
- Booking Reports
- Calls & Meetings
- Comparison Reports
- Summary Notifications can be set here also. These include:
You can also choose the frequency of the notifications
-
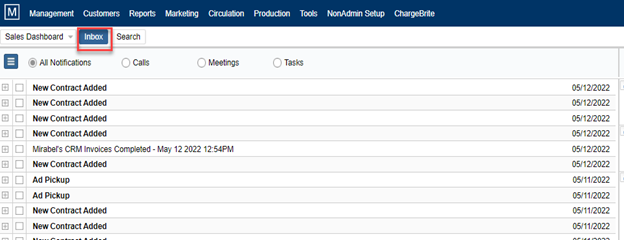
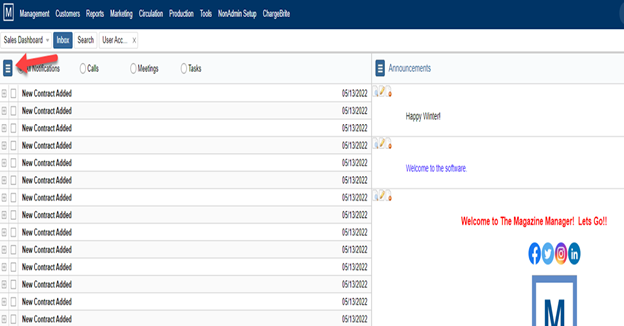
- Notifications are listed and displayed in the inbox.
-
-
- Notifications for calls, meetings, tasks, notes, emails, contacts, proposals, invoices, payments, etc.
-
-
- You can manage your inbox from the action panel in the upper left-hand corner.
- Click the actions button
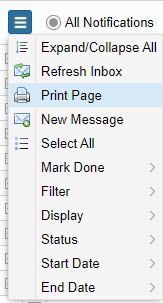
The following action options are available in the Actions panel:
-
- Expand/Collapse All
- Refresh Inbox
- Print Page
- New Message
- Select All
- Mark Done
- Filter
- Display
- Status
- Start Date
- End Date
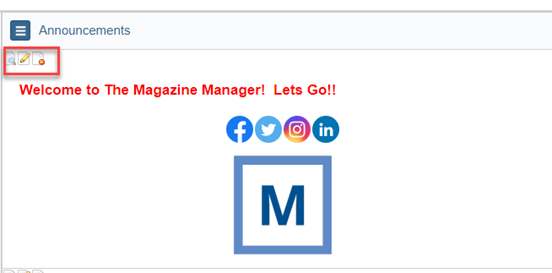
Announcements Panel
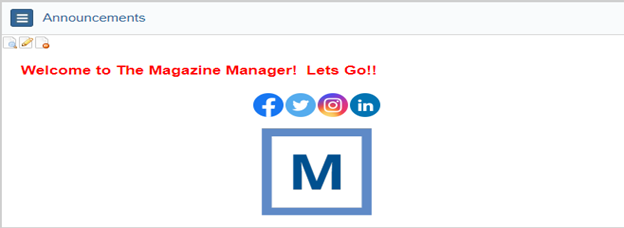
Company-wide Announcements are a great way to communicate with staff and can be created and displayed on the right-hand panel.
-
- These announcements are accessible for any/all users of the software to see.
-
- Announcements can be used to give information about upcoming events, deadlines, contests, meetings, conferences, etc.
- The ability to create announcements is an administrative function by default but can be provided to any users in the user permission area.
To create a new Announcement:
-
- Click on the Actions button icon in the upper left-hand corner of the announcement panel.
- Click “New Announcement”

-
- This will open a drag & drop editing tool that you can use to easily create your message.
- Enter the announcements and apply the desired styles using the provided menu options. Easily add in text, images, and videos for creative and informational announcements.
- Multiple announcements may be set up and managed as needed.
- Icons are available on each announcement to edit or delete.
- You can view the announcement on a full-page, by using the magnifying glass icon.
We want to hear from you!
MORE ARTICLES ON
Site Customization
videos relating to
Site Customization


