How to Add Proposals skipping the Wizard
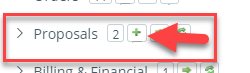
To add a Proposal to a customer, you’ll need to leverage one of the search options to navigate to the client record. Once there you will want to click on the green + next to the Proposals tab.
Note You can only add an Proposal when on the main company record.
The next screen you will see is the New Order Wizard. You can choose to enter a Digital Proposal or a Print Proposal. You also have the option to use the wizard or skip the wizard. Hover over Print or Digital order to see these options.
Note It is recommended that new users, and even most experienced users, continue to use the wizard, as it is a step by step guide through the order entry process.
Once you have chosen to skip the wizard you will be brought to the Order Entry Screen where you will complete the entire proposal entry.

- You will need to first select your product and your rate card in order to see the rest of the options below.
- Select the Relevant ad Specifications. Size, Frequency, color, Position, Special Section, Production Charges etc. You also will need to select the issues this ad should appear in.
- Across the top of the order entry screen, you will see Details, Adjustments, Custom Fields, Sales Reps, Billing Contacts, Production Contacts and Multiple Products. Should you need to edit any of these fields you will need to click on those tabs to do so.
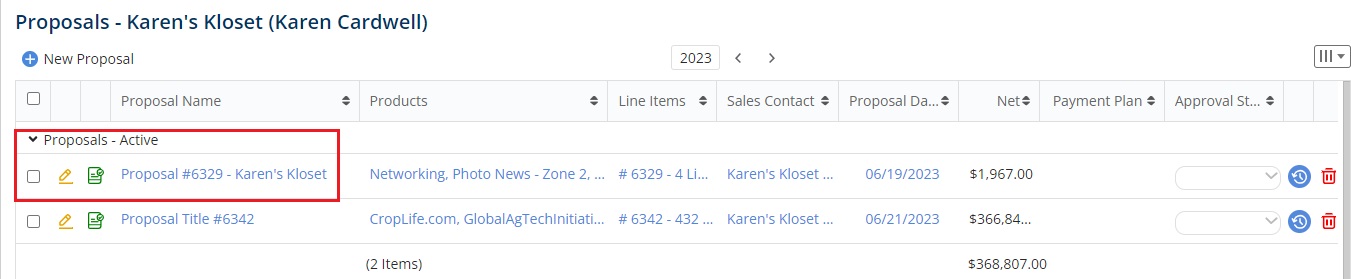
- Once you have entered all information necessary, you can click “Save” down at the bottom. This will take you back to the list of proposals for this client.
Note: New Proposals — Each time a new proposal is entered into the database, a notification can be sent to any active user. Please contact your Site Admin or Software Consultant for information on how to set up these notifications.
Once you have completed the proposal you will see several options across the bottom for printing and sending your proposal.

- First, if you have additional line items to add you can click on “Add Line Items” and repeat the steps above.
- Next, if you’d like to view the proposal you’ve created so far you click on the “View Proposal” Button.
- The next button is the “Print Menu”. With this menu you have the option to print the proposal, print the proposal to PDF to attach to an email, or simply email the proposal directly from this menu.

- Next you have the “Proposal Menu”. This menu gives you the option to
- Delete the proposal
- Display only the proposal total
- Copy the Proposal to another Client
- Re-Order Line Items

- You can also send this proposal out for E-Signature. This requires setup from your Site Admins. If you do not see this feature please reach out to your Administrator or Your Software Consultant for more information.
- The last option will take you back to the Proposal List
Once you have sent the proposal and received it back signed you’ll want to convert it to an order so that it will show up in sales runsheets and production lists. You do this under the proposal menu > Convert to contract. First, Navigate back to the client page and down to the proposal tab. Expand the tab and click on the green arrow to the left of the Active Proposal you’d like to convert. This will bring you to your list of proposals. From here you’ll want to click on the pencil icon next to the proposal that needs to be converted.
Click on “Proposal Menu” and select “Convert to Contract”. This will take the proposal out of the proposal stage and move it to the Orders stage. You will also be able to view all of the line items associated with that proposal in the “Orders Tab” of the client record.
We want to hear from you!


