How to Add Contact Groups
The Contact Group field can be used to further define and “tag” a contact in the software for future searching and grouping purposes. An unlimited number of Contact Groups can be set up to help in organizing contacts. The difference between a “Category” and a “Contact Group” is that a contact can be assigned to just one Category, but can be assigned to several Contact Groups. For that reason, we suggest using Category as an upper-level organizational tool, and Contact Groups as sub-groupings to Categories.
To access Contact Groups screen, select menu option Management → Site Setup → Website Setup. Under the Contact Management section click Contact Groups. A list of default and existing contact groups is displayed.
Note: For newer sites there will not be a “Management” tab. Instead you will find Website Setup under the person icon in the upper right hand corner of your screen.
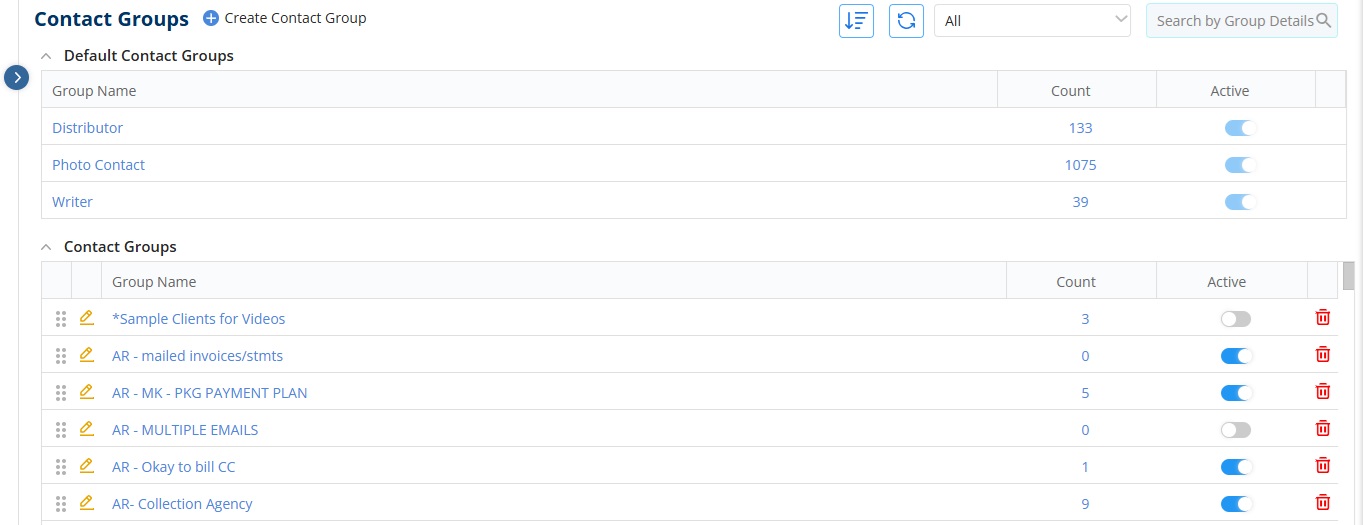
- To Add a New Contact Group, click on “Create Contact Group” at the top of your screen.
- To Edit an existing contact group, click the pencil icon.
- To Delete existing contact group, click the trash icon. While deleting application will prompt to confirm delete action.
- By default, the contact groups “Distributor”, “Photo Contact” and “Writer” are included. These groups cannot be edited or deleted.
- You can view how many contacts are in each group via the “count” column. You can also make a contact group Active or Inactive by using the toggle in the Active Column. Marking a contact group as Inactive does not delete it. It just removes the group from selection on the contact record.
We want to hear from you!
videos relating to


