To access the Invoice Templates screen, use the path Profile Icon >> Website Setup >> Ad Sales Management section >> Invoice Templates. A list of existing invoice templates is displayed.
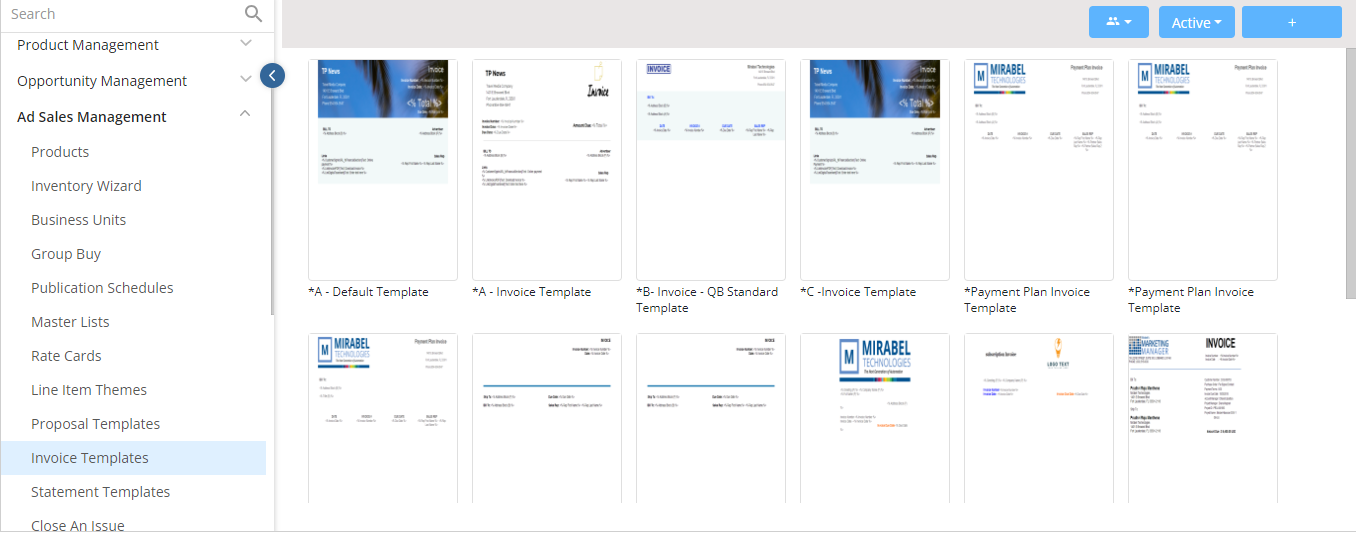
- Hovering on the existing templates, gives two options:
- Preview – This will give a preview of the existing template and lets you edit the selected template.
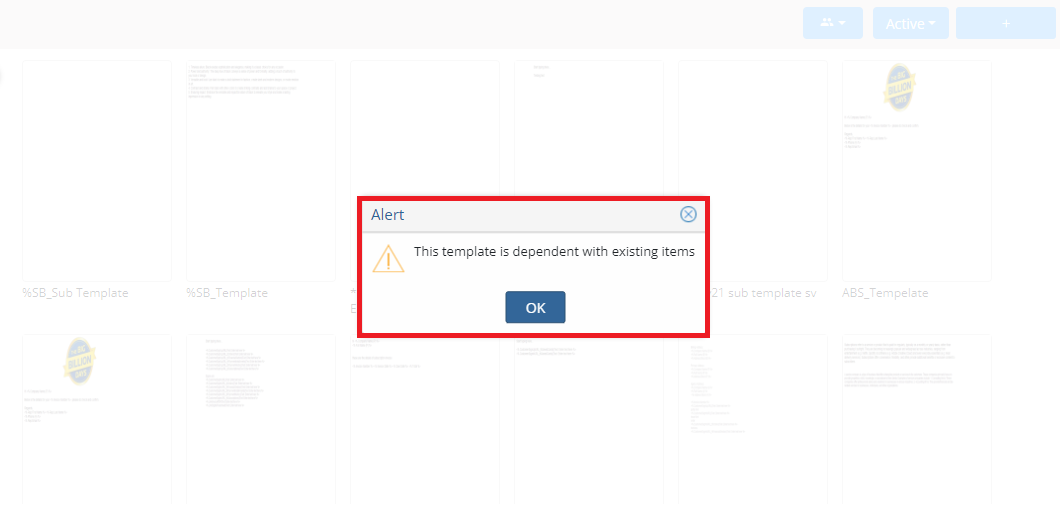
- Delete – While deleting an existing template, the system will prompt to confirm deletion. If the user clicks on ‘Yes’, but if there are items dependent on the template, it will display an alert popup.
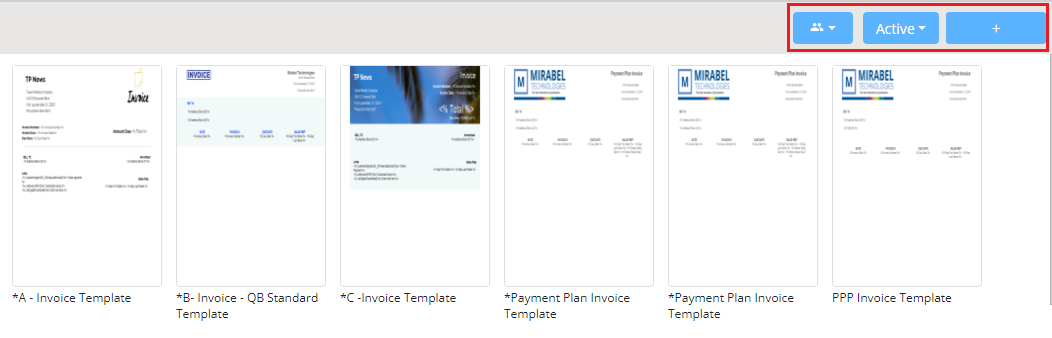
- Three options appear at the top-right corner of the template page.
- Users icon – This icon is used to filter the templates created by individual users. A search field lets you search with the specific user’s name.
- Active/Inactive dropdown – This allows admins to quickly filter through active or inactive invoice templates.
- ‘+’ button – This option helps users to create a new invoice template.
How to Create an Invoice Template
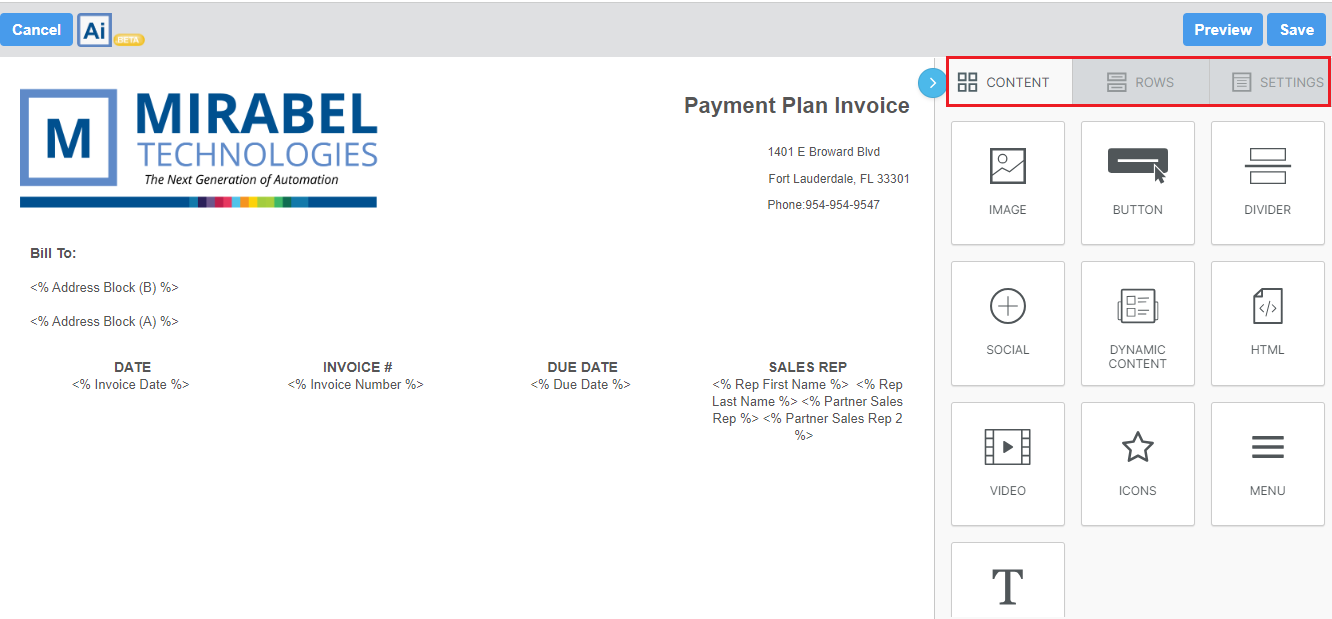
Click on the blue plus icon in the top-right corner of the page and give your template a name.
 Clicking on Save will create the template and open it in a new window. Through here, admins can perform the following actions
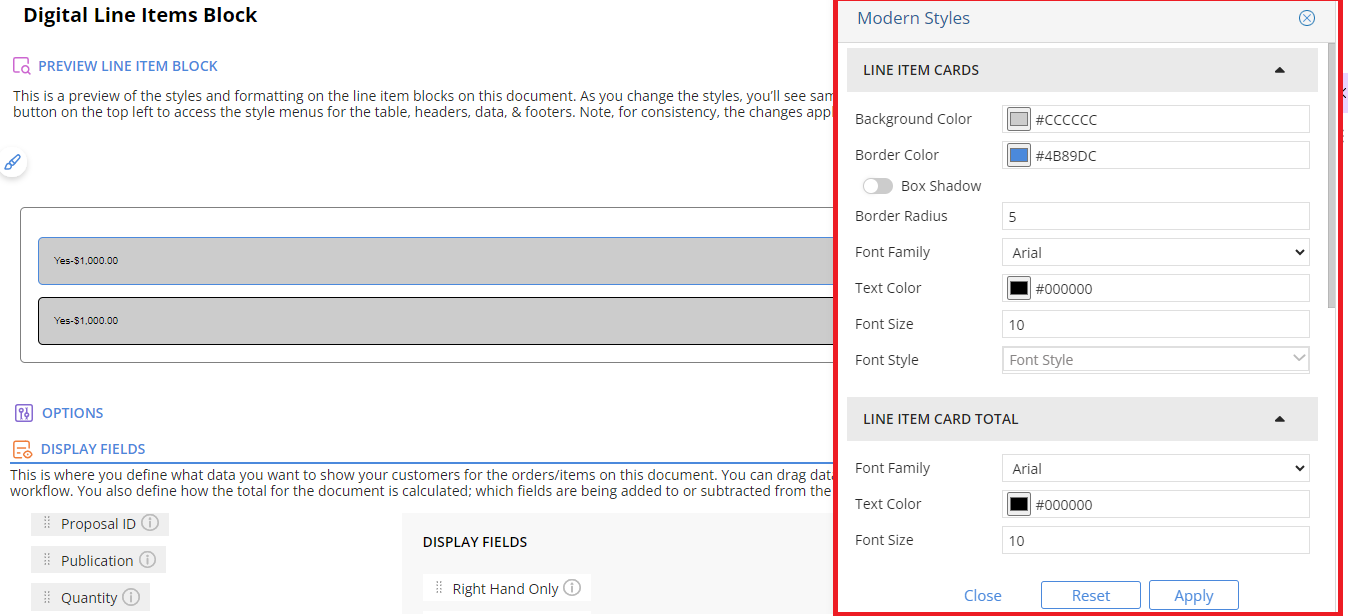
- Select Theme – Used for Line Item customization.
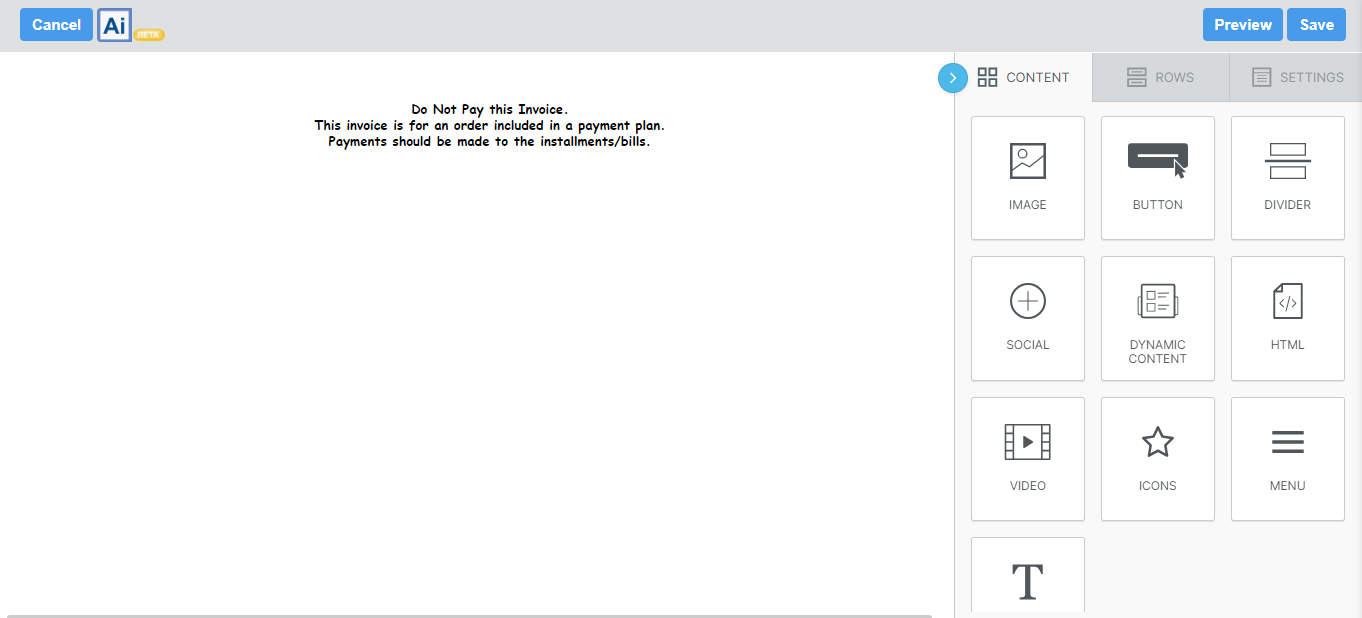
- Upper Text – Used to include the header information of the invoice template. Here you can upload logo, address, apply buttons, upload a video or any other header information. You can format the items using the three menu formatting tabs: Content, Rows and Settings.
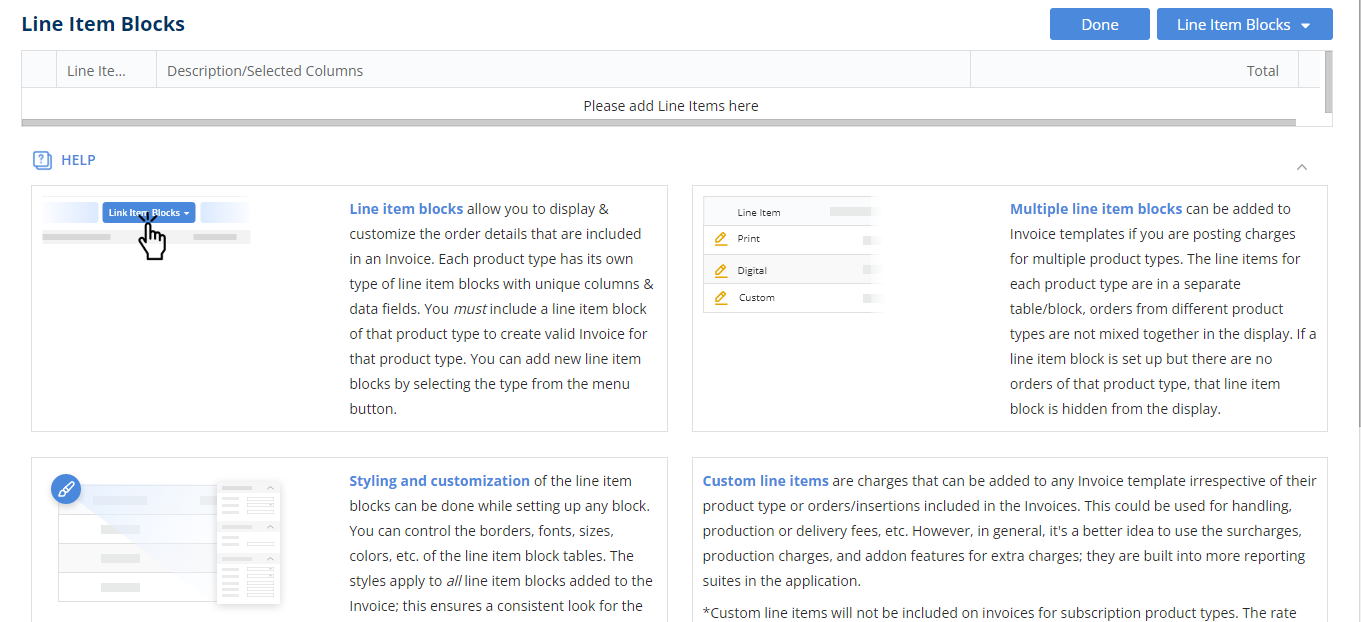
- Line Items – Used to to include Line Items Blocks information.
-
- Hovering on the ‘Line Items Blocks’ Button will let you add Service, Digital, Event, Print, Subscription and Website(GAM) Items blocks. ‘Add Custom Line Item’ lets you add a single general line item with an Amount, Barter and Description. This line item is NOT tied to any product or rate card, and is not “converted/added” to an invoice automatically. ‘Clicking on Submit’ will save the information.

-
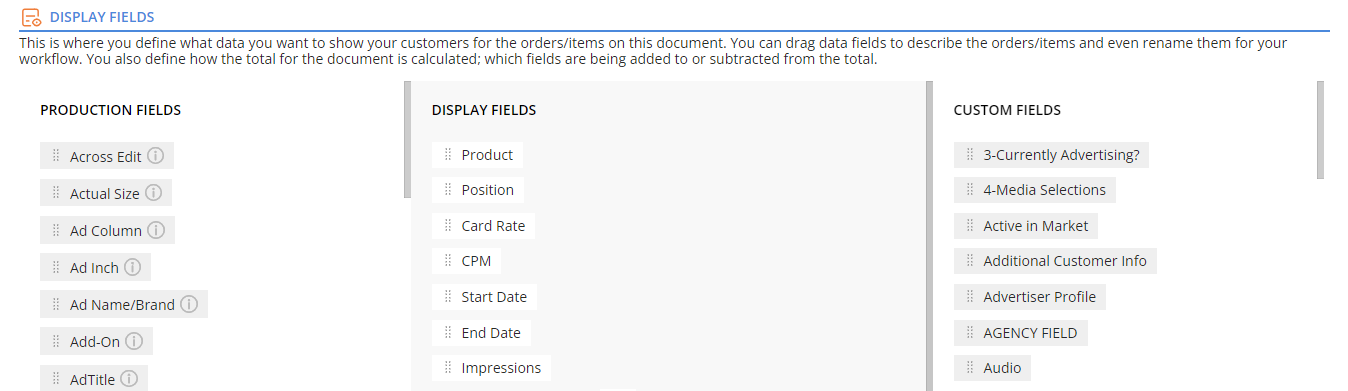
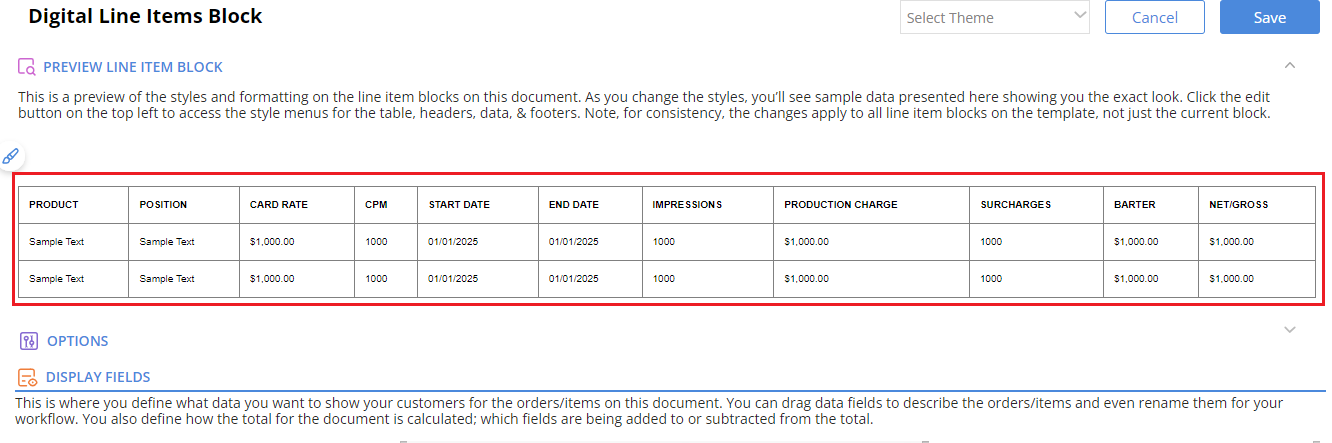
- Once a Line Item Block is selected, the next page is where you specify the data you wish to display to your customers. You have the flexibility to drag the production fields and custom fields in to the display fields row to describe the items you wish to display in your invoice template, customizing their names or removing specific items to suit your workflow as well.
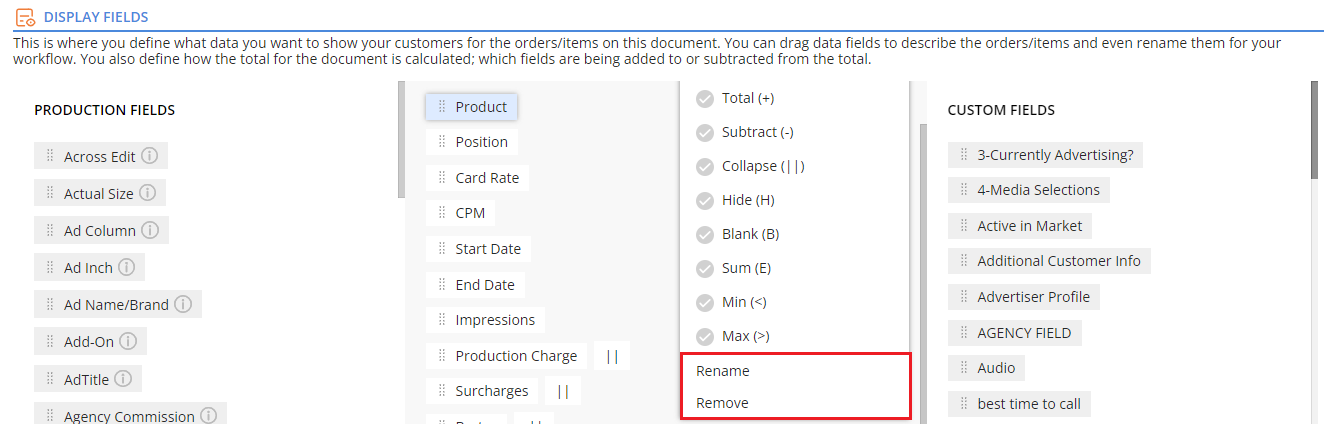
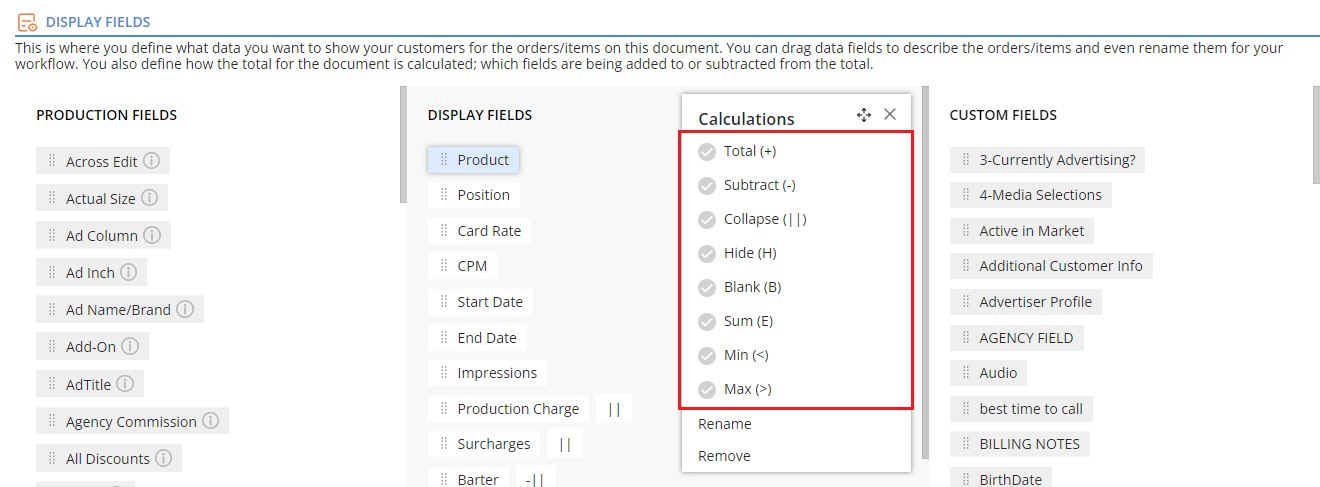
- Additionally, you can choose a method by which the total for the document is calculated, including which fields add to or subtract from the total. Choose an option to Hide a line item on the contract. Use the sum (E), Min (<) and Max(>) identifiers on a column to show a subtotal, list of values or a minimum and maximum value.
Note: The total and subtract options on the line item block will be how the total of the invoice is calculated.
- The chosen fields added to the list gives a Preview under the ‘Preview Line Item Block’ section.
- An option to select a theme style is also available when setting up the Line Items for the invoice template.

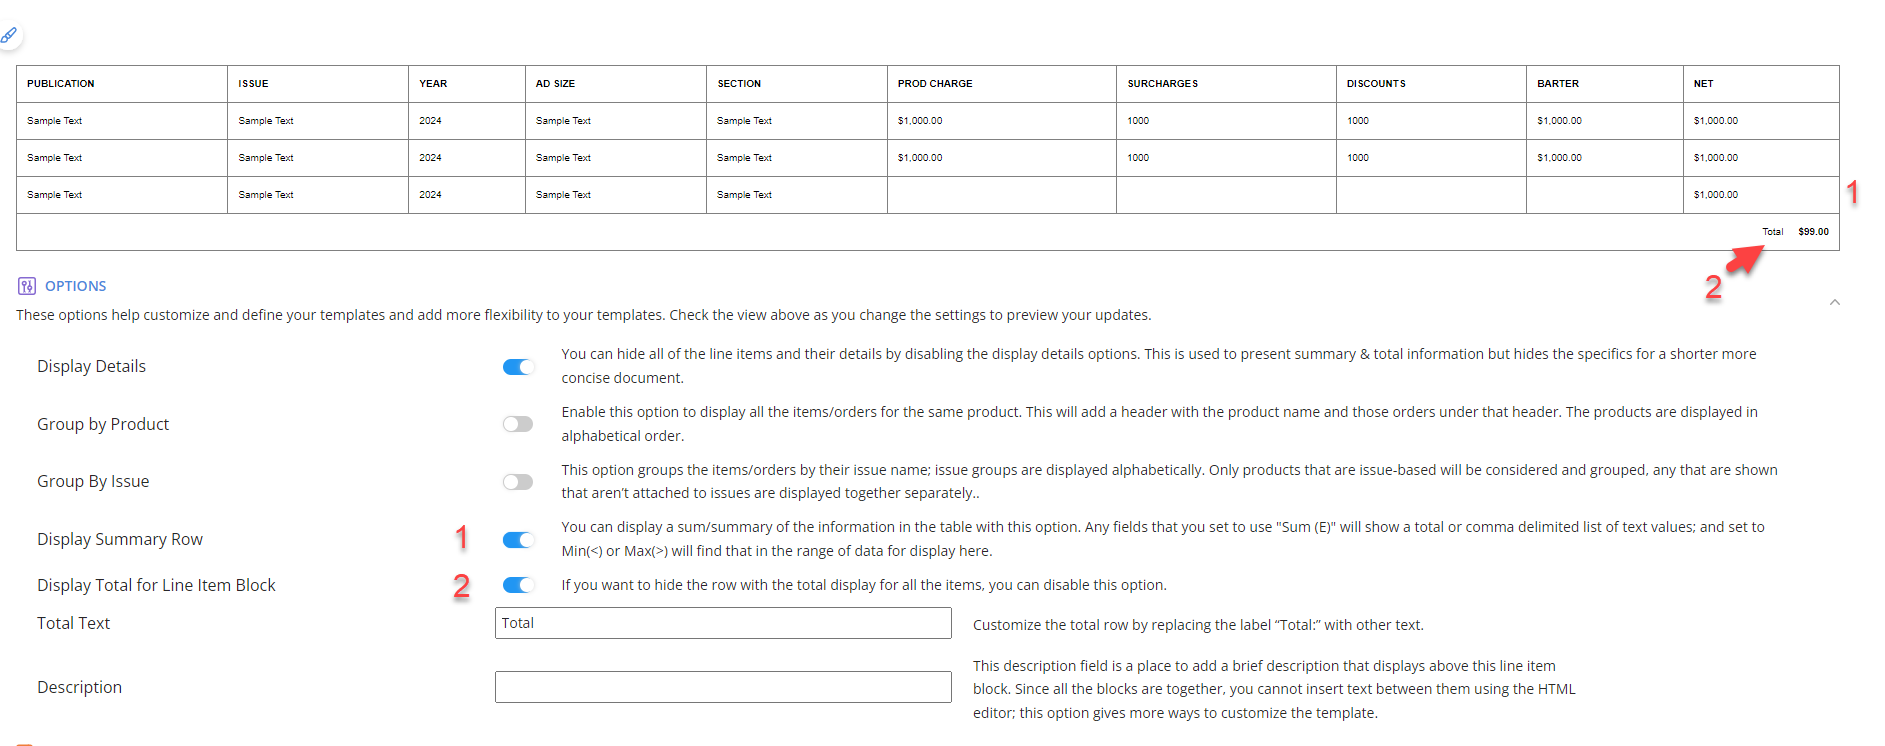
- Options – The option section will allow you to change what the line items will show, such as the total line, sum line and group by features. You will also be able to hide the details to only show total options.
- Details – The details tab gives further information about the way the template can be customized.
- Change the name of the template
- Make a template active/inactive
- Ability to toggle to display the total.
- Edit the Total Row Text.
- Total + Processing Fee will be displayed beneath the Total and if enabled, the Processing Fee will default to Percentage> 3%, but this can be edited.
- Users will be able to choose either Percentage or Amount from the Processing Fee dropdown and then input a value.
NOTE: The Total + Processing Fee displayed is based on the Amount or Percentage entered on the template level. This will not pull from the actual gateways. So, if a user selects a template that displays a 3% fee, but the payment uses a gateway with a 4% fee, the charged amount will not be the same as what was shown on the invoice.

- Lower Text – Click ‘Lower Text’ button to include the lower text items. Here you can upload footer information. You can format the items using the provided format menu.
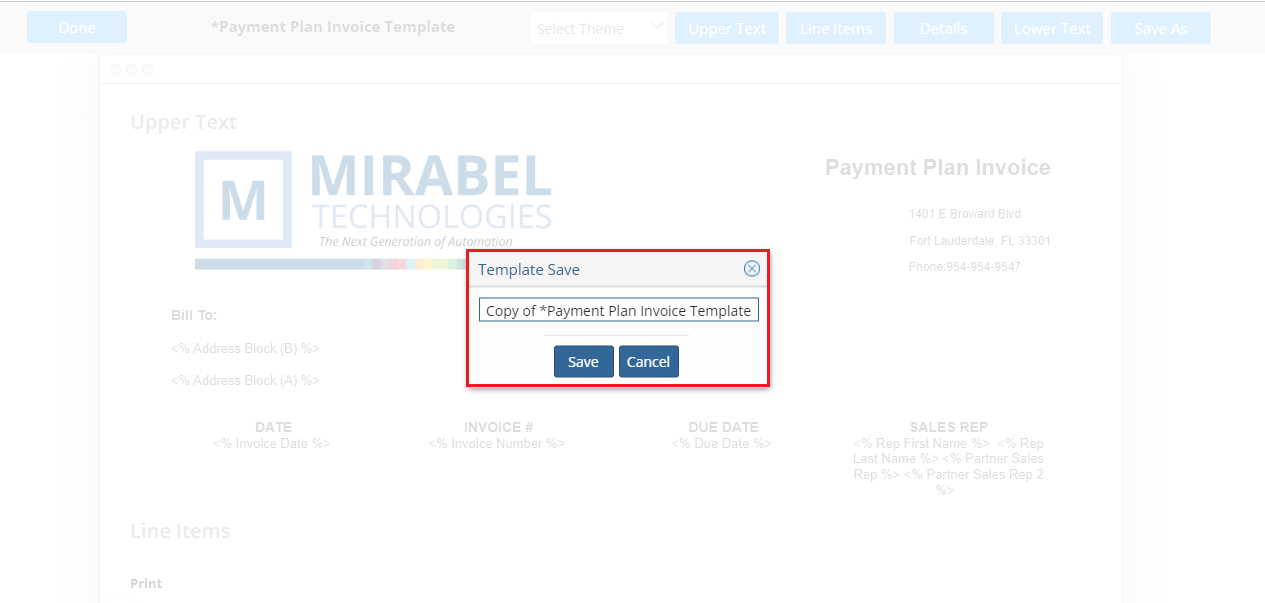
- Save As – To make a duplicate template click ‘Save As’ and assign a new template name.
We want to hear from you!
videos relating to


