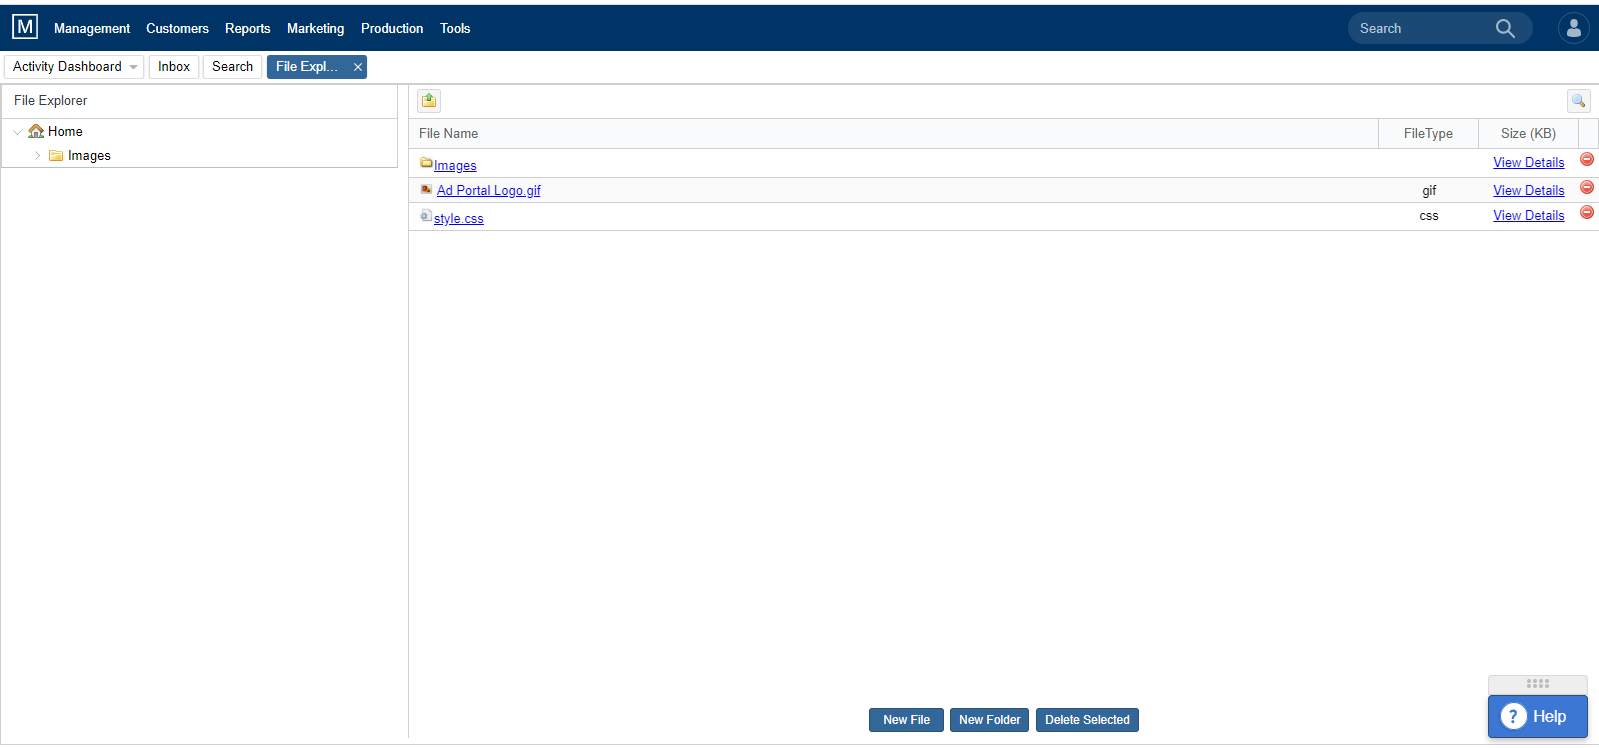
File Explorer
Updated January 27, 2020
To access File Explorer, select menu option Tools > File Explorer. You can manage documentation using folders, delete and add new folders as needed. To view the files under a folder, click on the folder.
To Add a New Folder:
– Click into the folder/screen you wish to create the new folder.
– Click New Folder from the menu at the bottom of the page.
– Enter Name and click Create.
Note: The Images folder is there by default and cannot be deleted.
To Add a New File:
– Select and open the appropriate Folder for file upload by clicking the folder hyperlink.
– Click New File from the menu at the bottom of the page.
– Click Open File to browse images and select image to upload.
Note: Image uploads cannot exceed 10 MB.
– Enter a File Name if it needs to be different than the name displayed in the top field, and click Upload.


File Actions and Types:
- To delete a file, click the delete icon of the corresponding record.
– To view a file, click the hyperlink of the corresponding record and a new tab will open to show the image.
– To download the file image, right click on the image displayed in the new tab and select Save Image As.
There are several file types that can be uploaded.
– .jpeg
– .png
– .gif which will not move — it will act as a regular image file
We want to hear from you!
videos relating to


