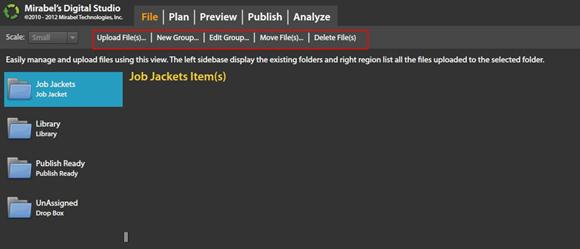
You can upload files, create New Group (folder), edit, move files and delete files from the folders.
Upload Files:
- Select the folder to which you desire to upload files and click Upload Files.
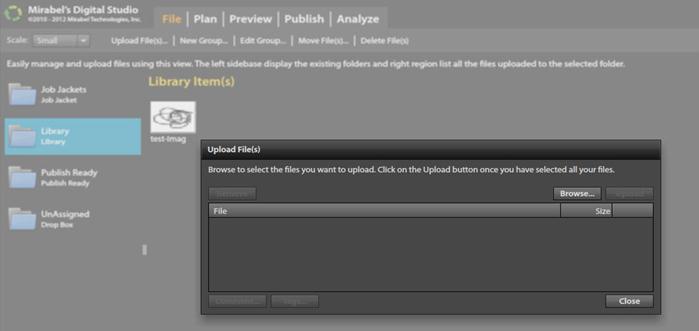
- Browse to locate necessary files.
- Click Upload.
This may take several minutes to upload depending on the number of files
When you upload a file you are able to add a Comment or Tag each individual file separately to be used in the Search Assets Function OR delete the selected file prior to uploading.
New Group/Folder:
- Click New Group to add a new folder to the application
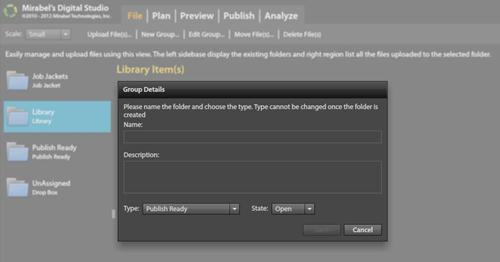
- Enter Name and Description of the Folder/Group.
- Choose the default folder Type from drop-down list.
- Choose State of the group (open or closed)
- Click Save.
- To Edit a Group, select the group and edit the details.
Move File(s):
- To move files from one issue to other issue, click Move File(s) link.
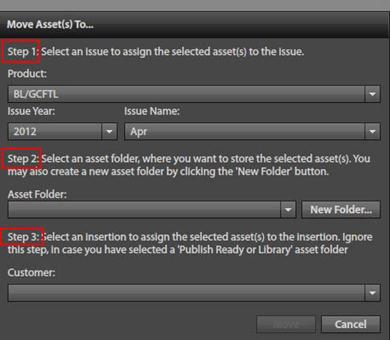
- Select an Issue to assign the selected assest(s) to the issue. You can choose Product, Issue Year, and Issue Name from drop-down list.
- Select an asset folder, where you want to store the selected assest(s). You may also create new asset folder by clicking the “New Folder” button.
- Select an Insertion to assign the selected asset(s) to the Insertion. Ignore this step, in case you have selected a “Publish Ready or Library” asset folder.
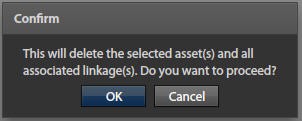
Delete File(s):
- Select the files and click Delete File(s) – Click OK to confirm delete.
We want to hear from you!
MORE ARTICLES ON
Digital Studio
videos relating to
Digital Studio


