How to Setup/Delete Navigation Bar Item
Updated
March 22, 2024
Updated March 22, 2024
To access the Nav Bar Setup screen, select menu option Management > Site Setup > Nav Bar Setup. A tree structured menu list of the application is displayed to the left.
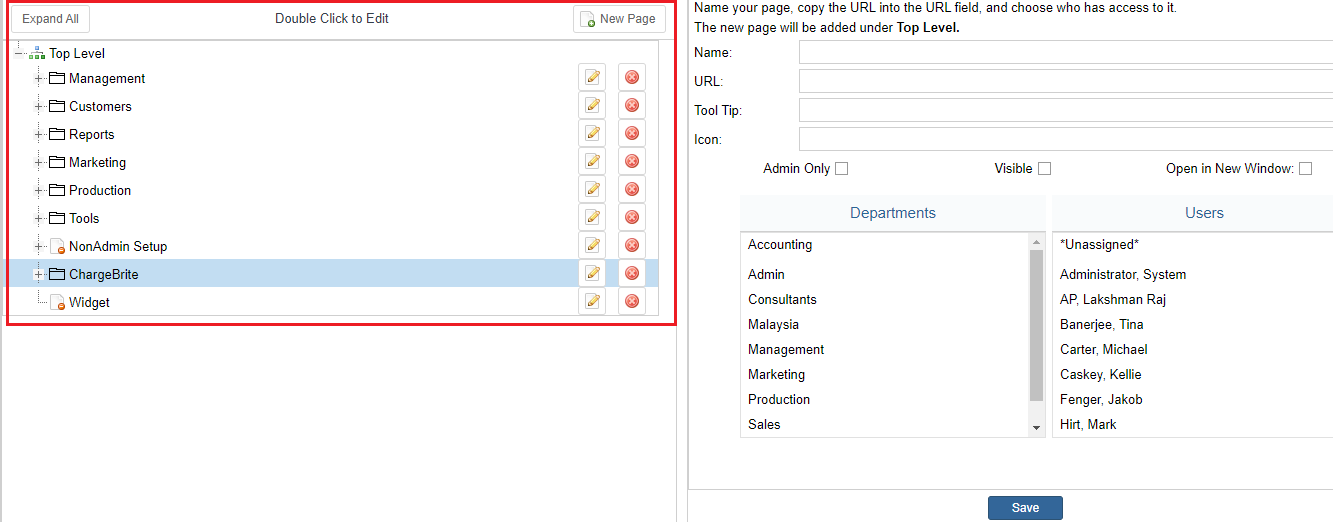 Through here users can –
- View the item location in the menu
- Add another item to the menu.
- Edit the path or permissions for the existing items in the menu using the pencil icon or by double clicking on the folder.
- Move up or move down the item through the menu list to Sort them.
- Click on the red cross icon at the end of an item to delete.
To Add a New Nav Bar Item
The options to add to the menu item are displayed to the right. Additionally, users can use the ‘New Page’ button to add a new item to the Nav Bar.
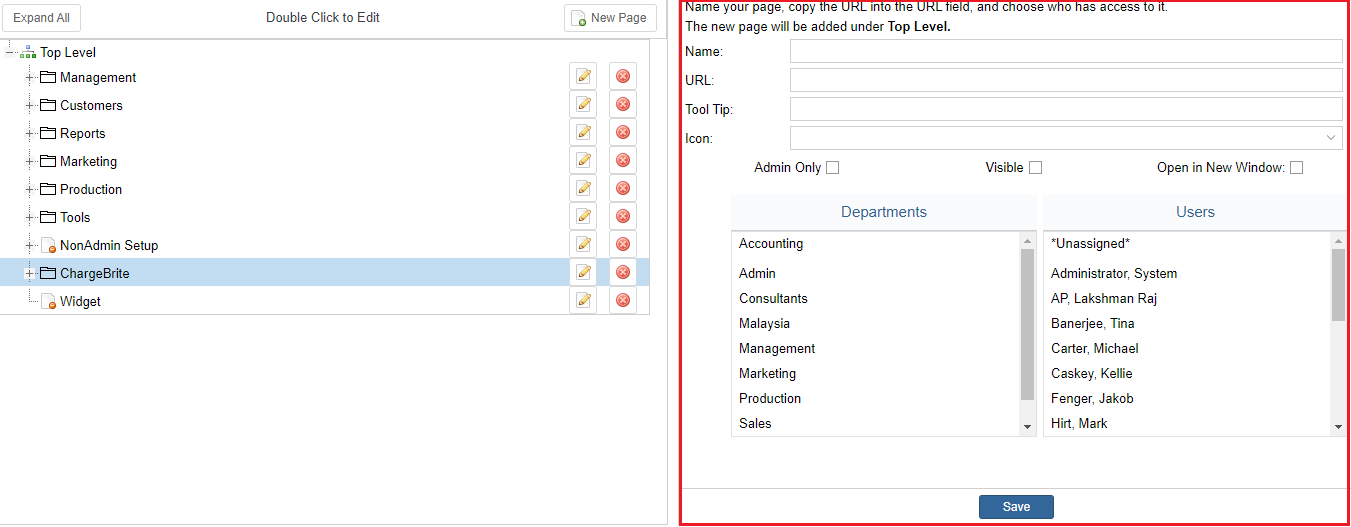
Through here, users can:
- Put your desired Name.
- Enter the URL for the item.
- Enter a Tool Tip which displays some information when hovered over.
- Set an Icon to represent a symbol for the menu item.
- Select Admin Only if the options editing is restricted to only administrator users.
- Select Visible to enable the item to be visible.
- Select Open in New Window to open up the item page in a new window.
- Choose the desired Departments to associate with the item.
- Choose the desired Users to associate with the item.
- Click Save to save the information.
We want to hear from you!
MORE ARTICLES ON
Company/Website Settings
videos relating to
Company/Website Settings


