How to Setup the Inventory
The Inventory Wizard allows you to setup Inventory by product and issues.
Step 1: Configure the rules/behavior you want for Inventory Management. This can be done using the path Website Setup >> Company Info >> Sitewide Defaults >> Ad Management Settings >> Check Inventory
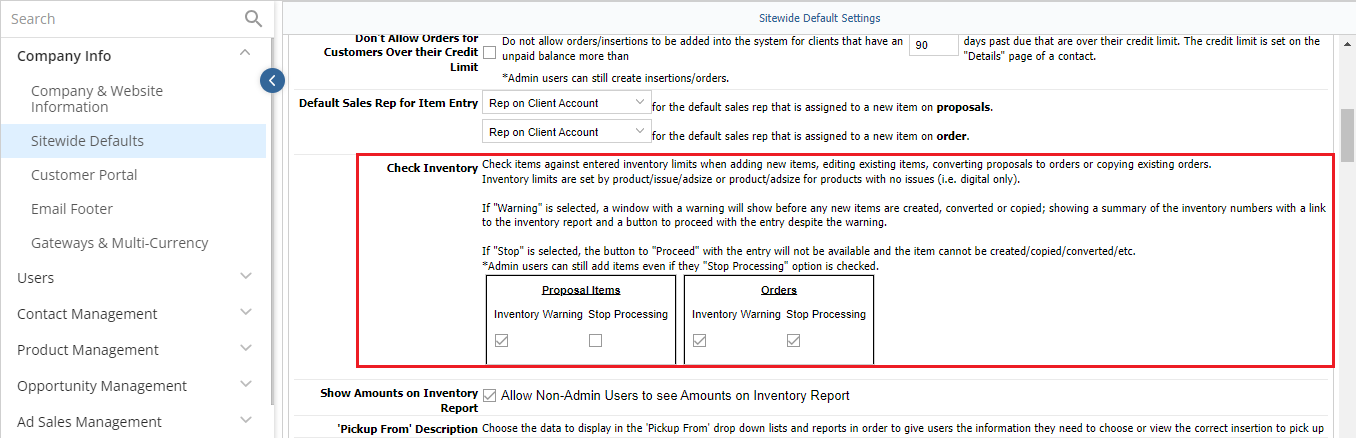
Select Inventory Warning or Stop processing for proposals and/or for contracts.
- “Inventory Warning” will cause a pop up to appear if inventory limits have been met.
- “Stop Processing” will prevent the order from being added if inventory limits have been met.
Step 2: Setup inventory limitations. This can be done using the path Website Setup >> Ad Sales Management >> Inventory Wizard
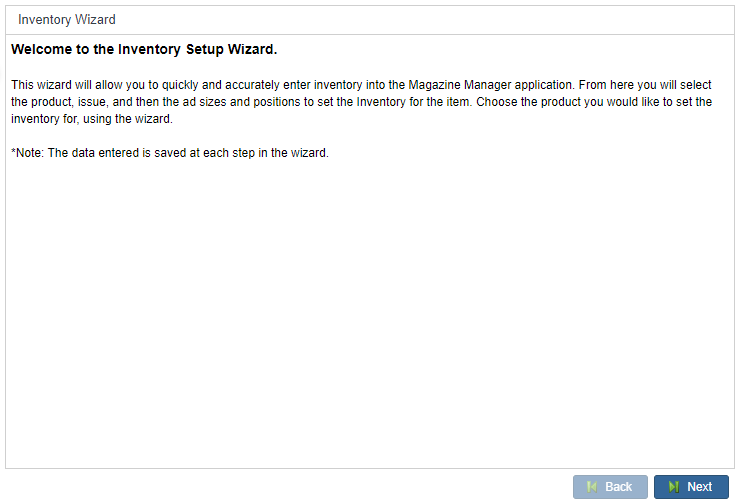
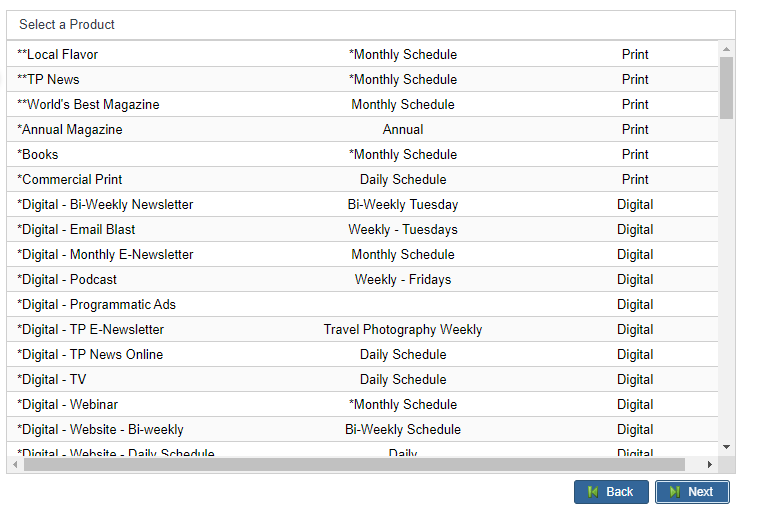
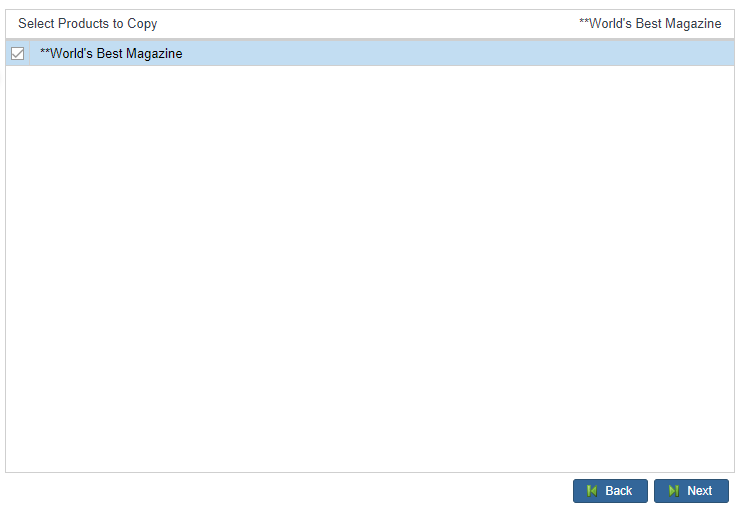
- This will open the Inventory Wizard. Click on Next and Select your product to place the inventory limitations on.
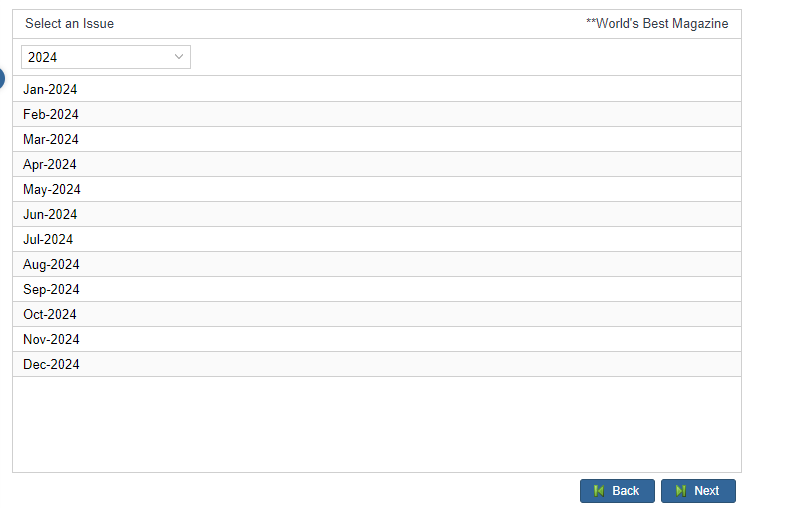
- Select an issue to set inventory and click ‘Next’.
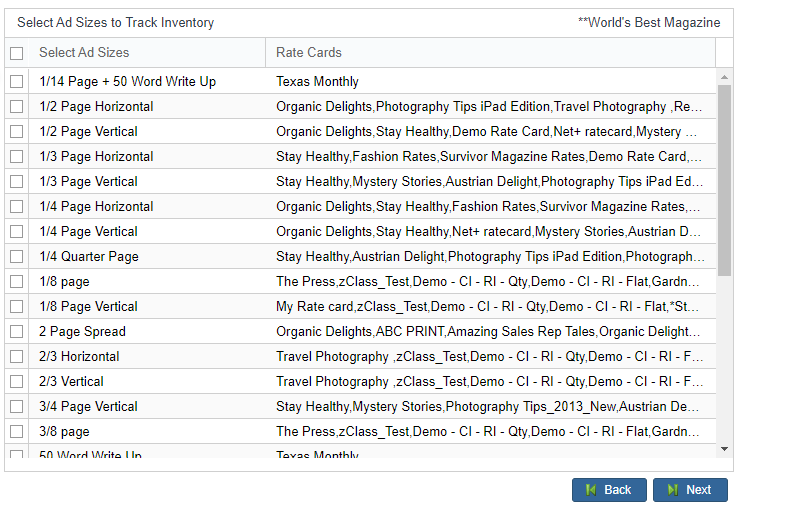
- Select any/all Ad Sizes to set inventory and click on ‘Next’.
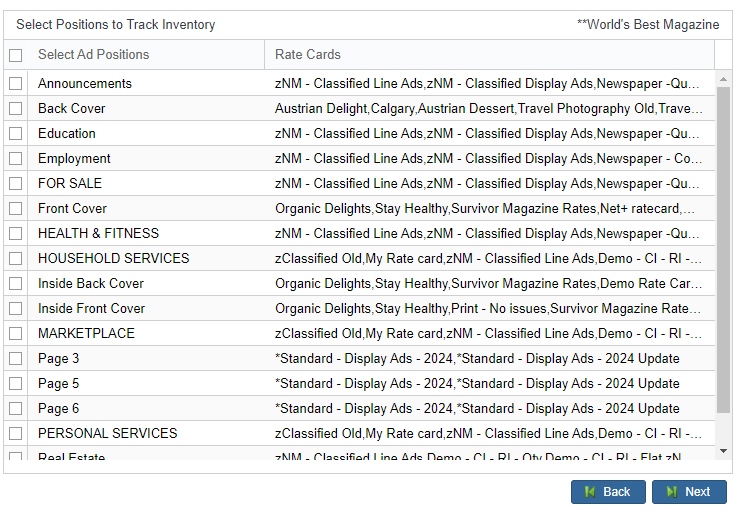
- Select any/all premium positions to set inventory and click on ‘Next’.
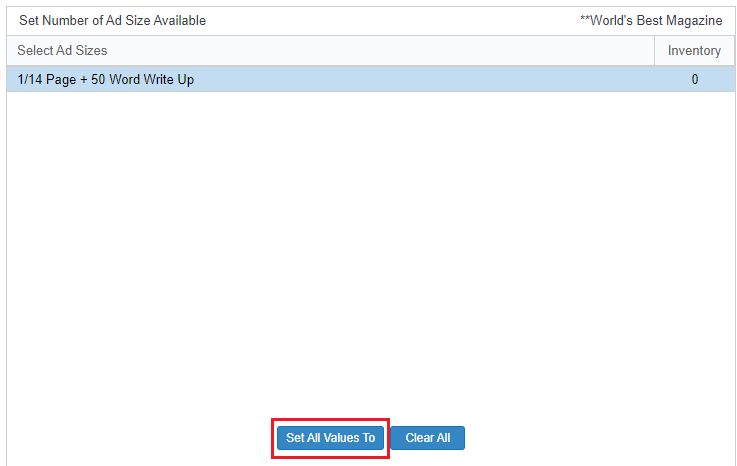
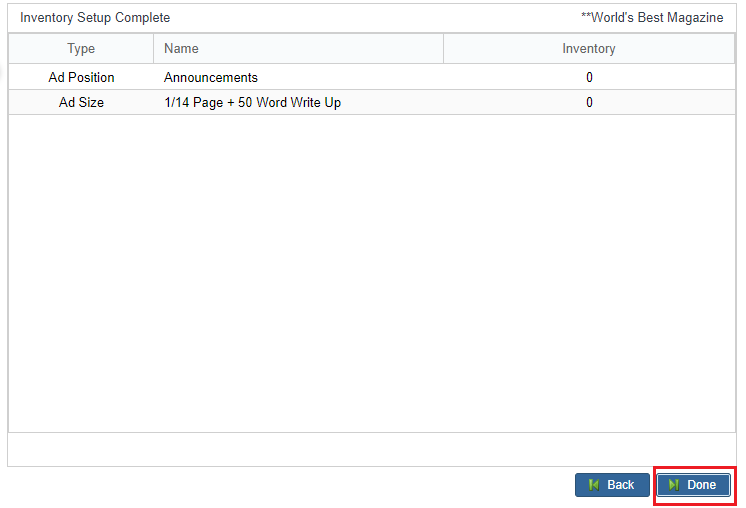
- Set the values/limits for each Ad Size. You can also use the ‘Set All Values To’ button to make them all the same. Click on ‘Next’.
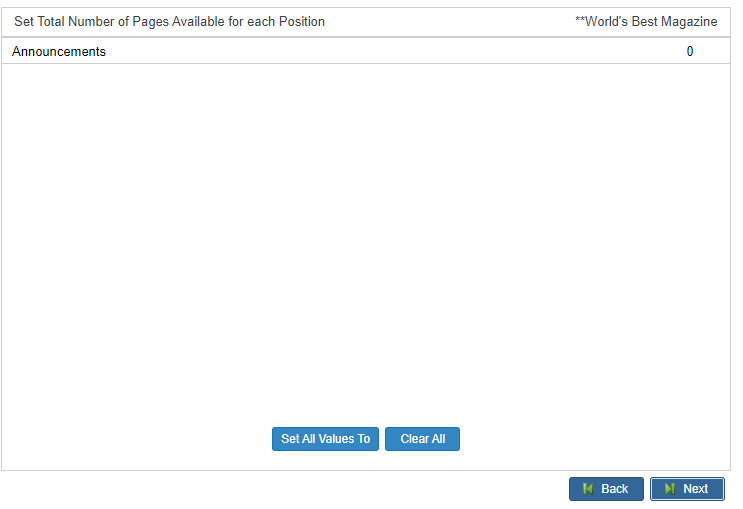
- Set the number of spaces/pages you have available for premium positions.
- Clicking on the ‘Set All Values To’ will allow you to copy the inventory you set from here to additional products & issues.
- Click Done to Save the changes and exit the wizard.
We want to hear from you!
MORE ARTICLES ON
Ad Sales Management
videos relating to
Ad Sales Management


