How to Add Custom Fields to the Subscriber Info Section on ChargeBrite Checkout Forms
October 2024
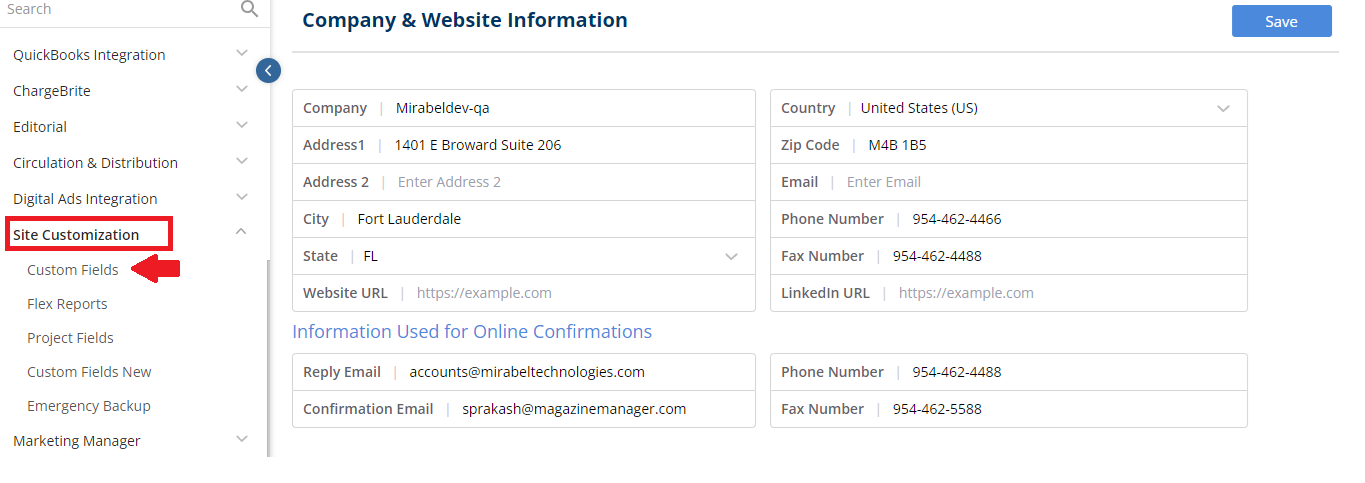
How to Add Custom Fields to the Subscriber Info Section within Website Setup
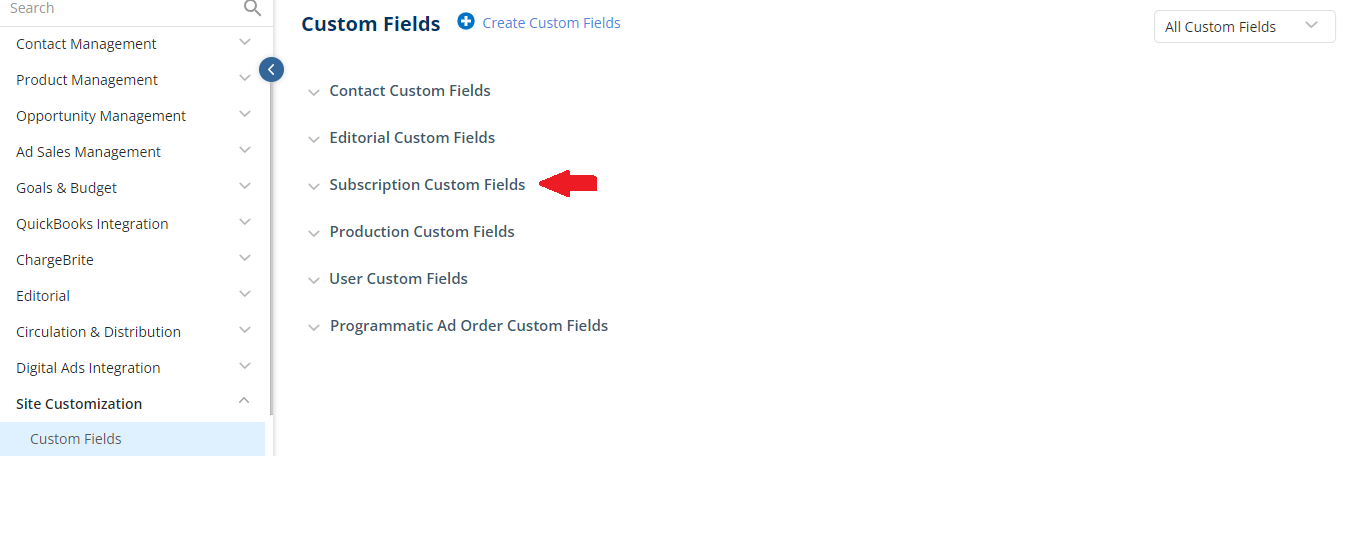
- To add a new Subscription Custom Field, admins need to navigate to the path: Website Setup >> Site Customization >> Custom Fields.
- Expand the Subscription Custom Fields and click on the blue plus icon beside the ‘Subscriber Information’ label.
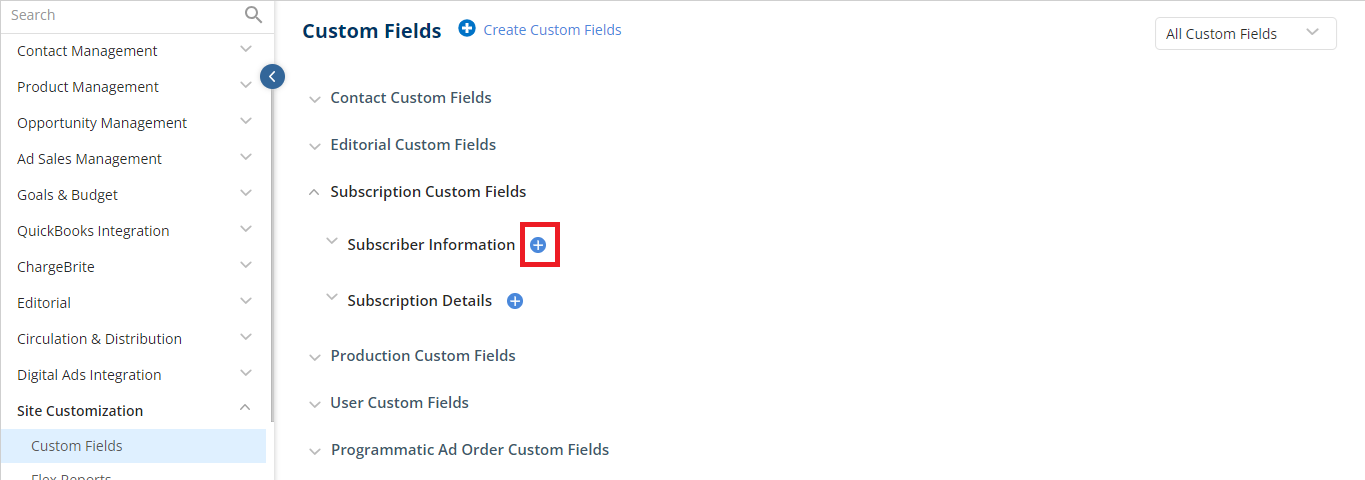
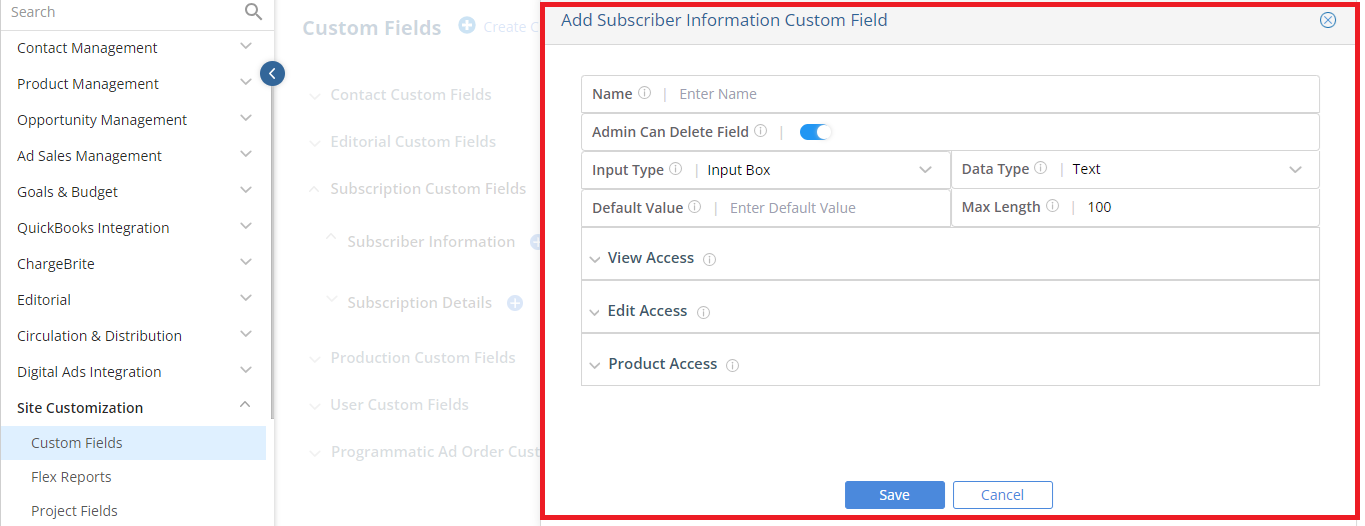
- This will open the Add Subscriber Information Custom Field side panel where you can enter the details for the Custom Field before saving.
-
-
- Name: Admins can enter a name for the Custom Field
- An Admin can Delete Field will allow admins the ability to delete the Custom Field
- Input Type: The type of input allowed(Input Box, TextBox, Dropdown List, Multiselect, Yes/No Buttons, Calculated Field)
- Data Type: The type of data(text, whole number, decimal number, currency or date) which is allowed to be entered for the selected Input type.
- Default Value: A value which will be selected by default.
- Max Length: The maximum number of characters or digits allowed.
-
-
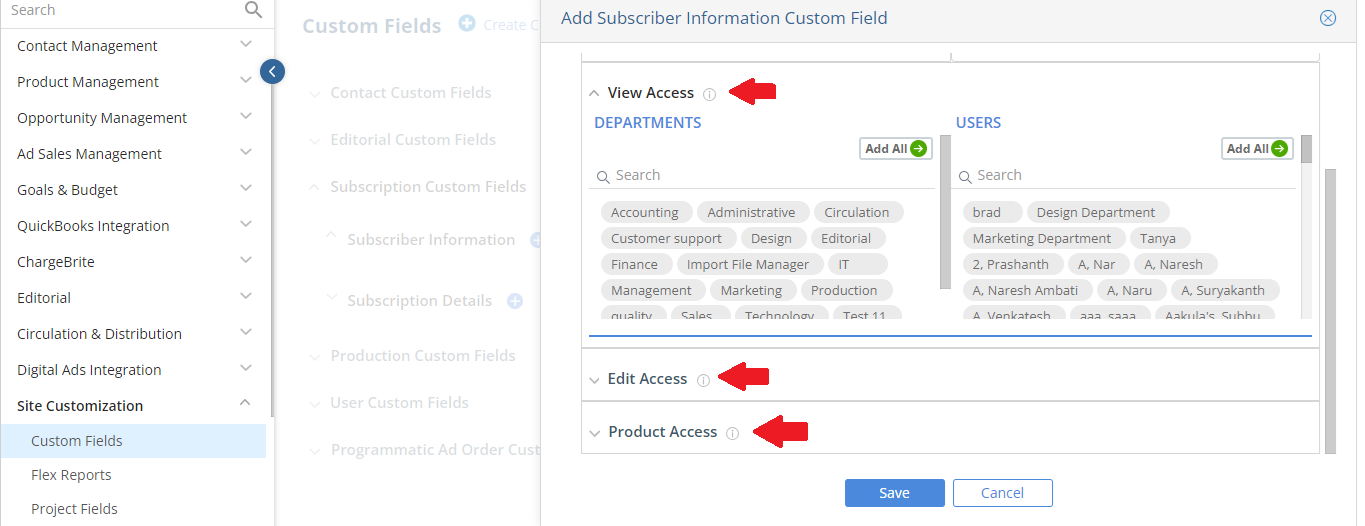
- Below the Custom Fields Details, ‘View Access’, ‘Edit Access’, and ‘Products Access’ are displayed as collapsible sections. Here, admins can determine which departments, users, and products will have access to these Custom Fields.
-
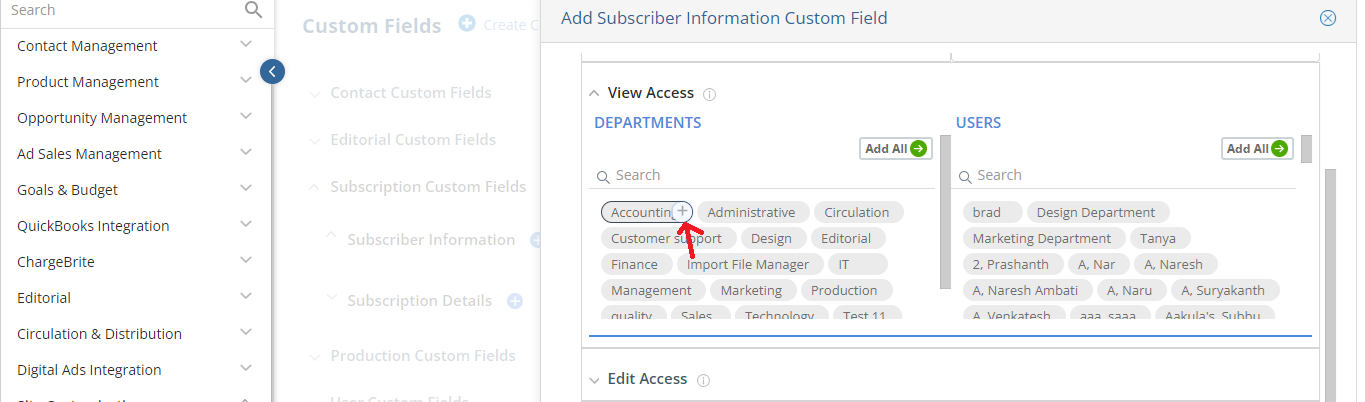
- To add a new field value to the ‘View Access’, ‘Edit Access’ and ‘Products Access’ sections, click the + option
- To add a new field value to the ‘View Access’, ‘Edit Access’ and ‘Products Access’ sections, click the + option
-
- To remove a field value from the ‘View Access’, ‘Edit Access’ and ‘Products Access’ sections, click the x option.
- To remove a field value from the ‘View Access’, ‘Edit Access’ and ‘Products Access’ sections, click the x option.

-
-
- Additionally, two options appear when selecting the values: Add All and Remove All.
- ‘Add All’ will add all the values and ‘Remove All’ will remove all the added values.
- ‘Add All’ will add all the values and ‘Remove All’ will remove all the added values.
- Additionally, two options appear when selecting the values: Add All and Remove All.
-

-
-
-
- Added a Search field within the ‘View Access’, ‘Edit Access’ and ‘Products Access’ sections to allow admins to search for the values by name.
- Added a Search field within the ‘View Access’, ‘Edit Access’ and ‘Products Access’ sections to allow admins to search for the values by name.
-
-

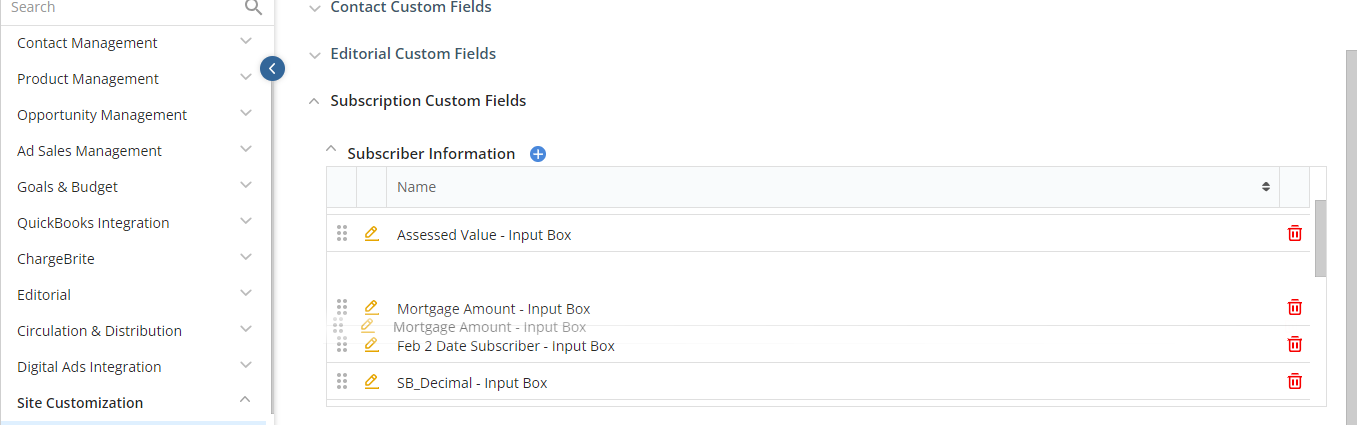
- Admins can also scroll within the section to view all the Custom Fields available.
- To Edit an existing Custom Field, click the pencil icon to the left of the Custom Field name, and to Delete a Custom Field, click the red trash icon to the right.
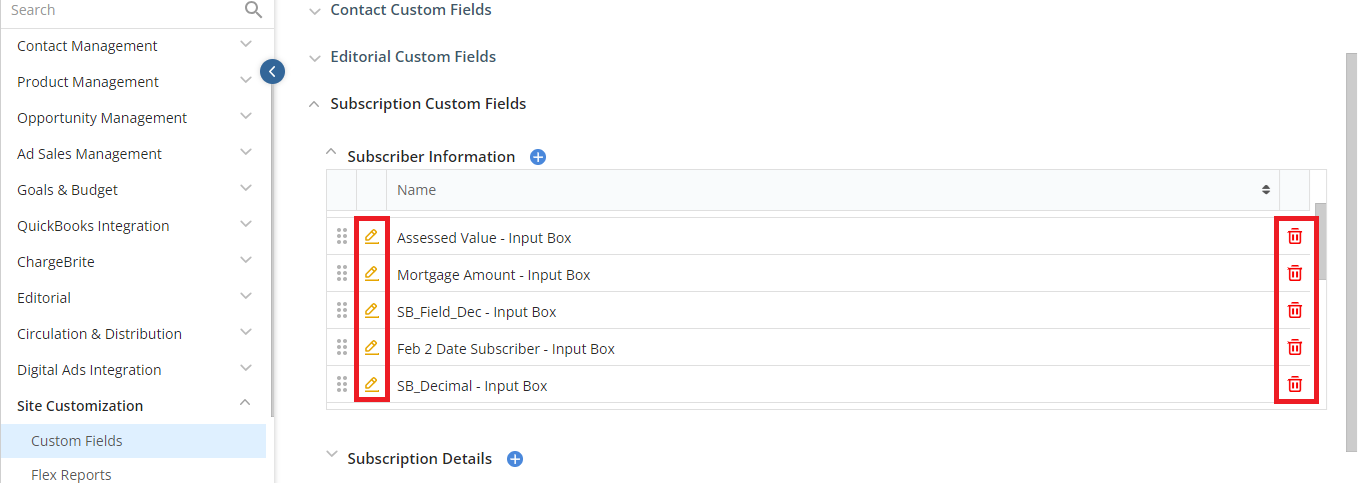
- Admins can also drag and drop these Custom Fields to rearrange them accordingly.
How to Add and View these Custom Fields within ChargeBrite Checkout Forms/Pages
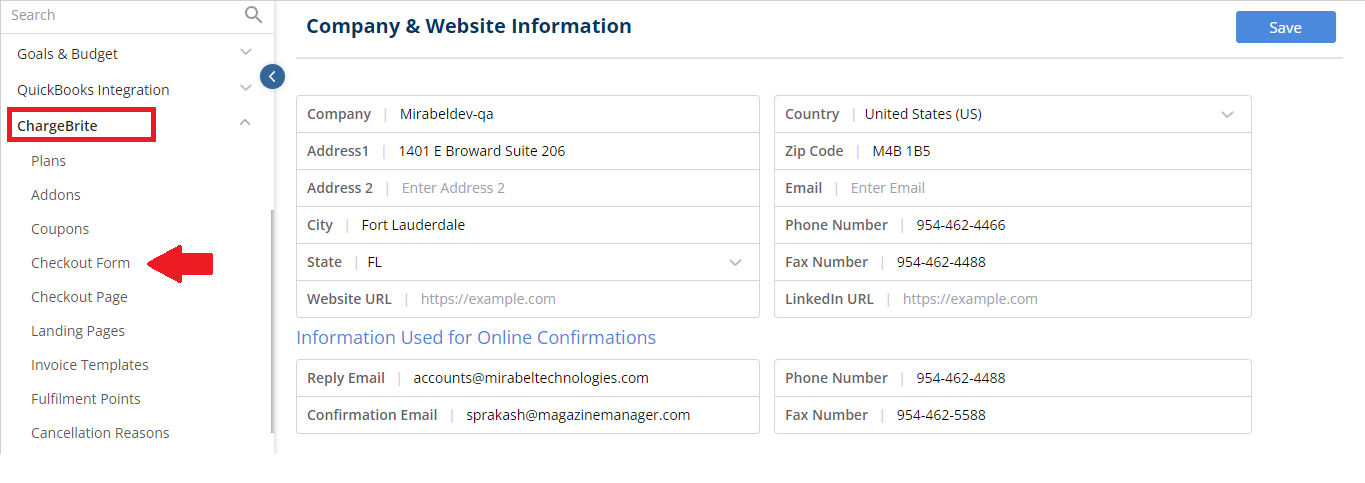
- Navigate to Website Setup >> ChargeBrite >> Checkout Forms
- If you have already started your Checkout Form, click on the Checkout Form you would like to add your fields to. If starting a new form, click create form.
- Once inside your form, click next until you arrive at the Subscriber Info screen.

- Once on the screen, click on the Custom Fields tab.
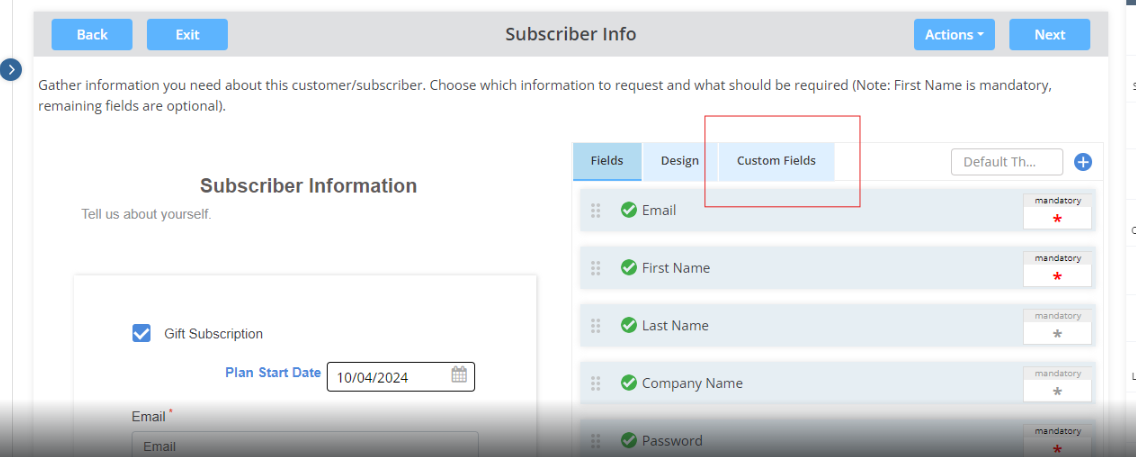
- Click the dropdown and choose the custom field(s) you created.

-
- It will display all the available Custom Fields within Website Setup.
- Users can select Single or Multiple Custom Fields.
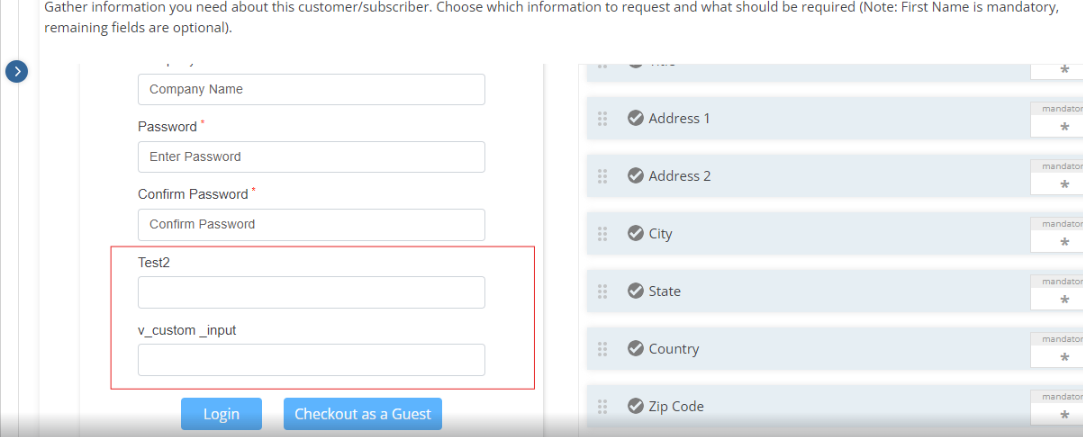
- Added Custom Fields will also appear to the left-side.
- Save your changes by using the Actions button and clicking Save, or Republish if you have already published your form.

- Once done, navigate to the path: Website Setup >> ChargeBrite >> CheckOut Pages
- Browse the URL for the CheckOut Page.
- Select the Plan for which the Subscriber Information Custom Fields were added.
- Click on Next, till you arrive at the Subscriber Info Page.
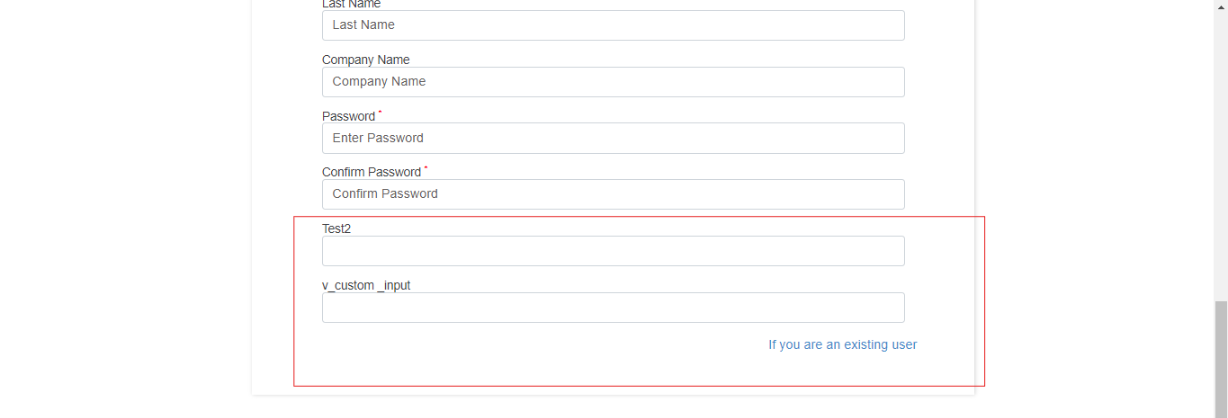
- The selected Subscriber Information Custom Fields will appear here.
We want to hear from you!


