How to Create Mailing Lists using the Wizard
How to Create Mailing Lists Using the Dynamic Search Wizard (Mailing List Wizard)
Updated February 2021
The Mailing List Wizard helps to create, edit and send to a mailing list of contacts within your site. To access the wizard, select Marketing > Mailing List Wizard. In this wizard, the user will go through the following steps:
1. Select (or create) a Letter Template
2. Select (or create) a Mailing List
3. Mailing List Summary
- Add Dynamic Search Criteria
- Add Dynamic Exclude Criteria
- Add Individual Contacts
- Exclude Individual Contacts
- Rename List
- Preview List
- Preview Template
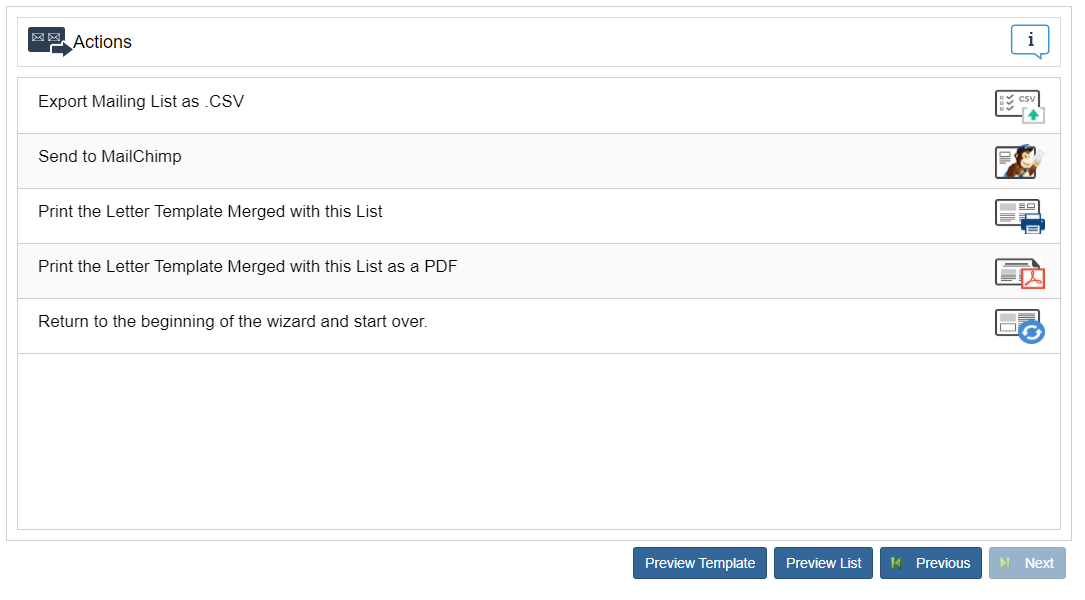
4. Mailing List Actions
- Export Mailing List as .CSV
- Send to MailChimp
- Print the Letter Template Merged with this List
- Print the Letter Template Merged with this List as a PDF
- Return to the beginning of the wizard and start over.
Selecting or Creating Letter Templates
Letter templates are HTML documents that can be merged with data from contact records within the dynamic mailing list. User’s can create a new blank letter, or select an existing Letter template or skip the letter template and export a list.
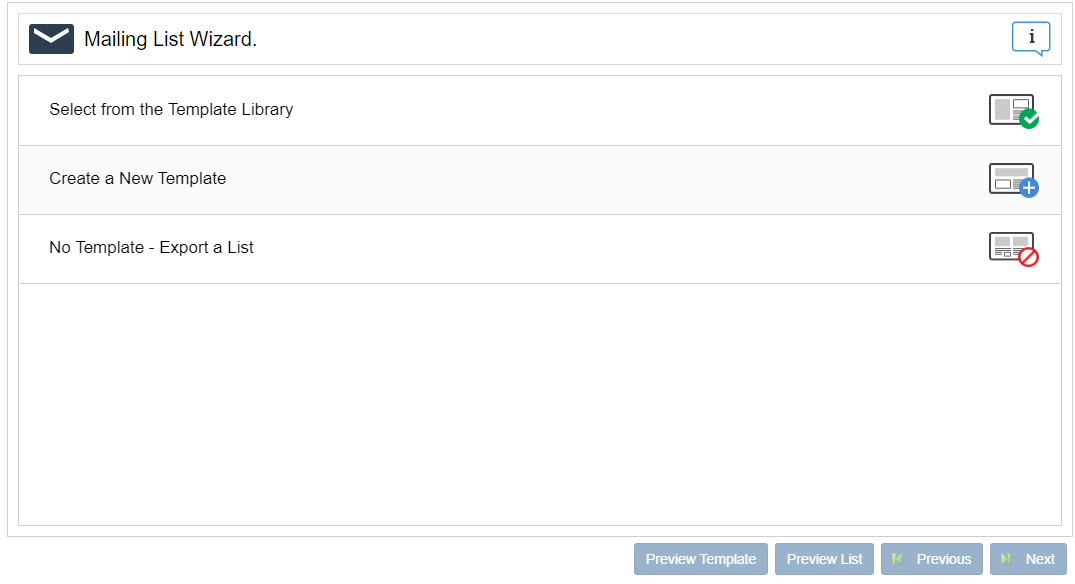
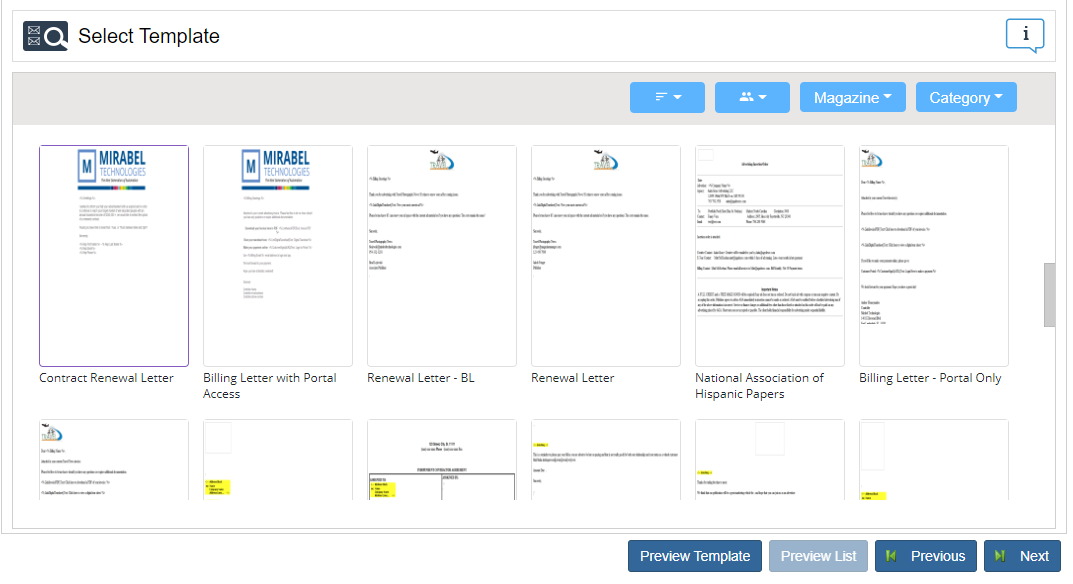
Selecting from the Template Library
User’s can filter template results by using the Author, Magazine & Category drop-down lists. Once a template is selected, press the Preview and edit to make any necessary changes. Save template changes and press Next to continue.
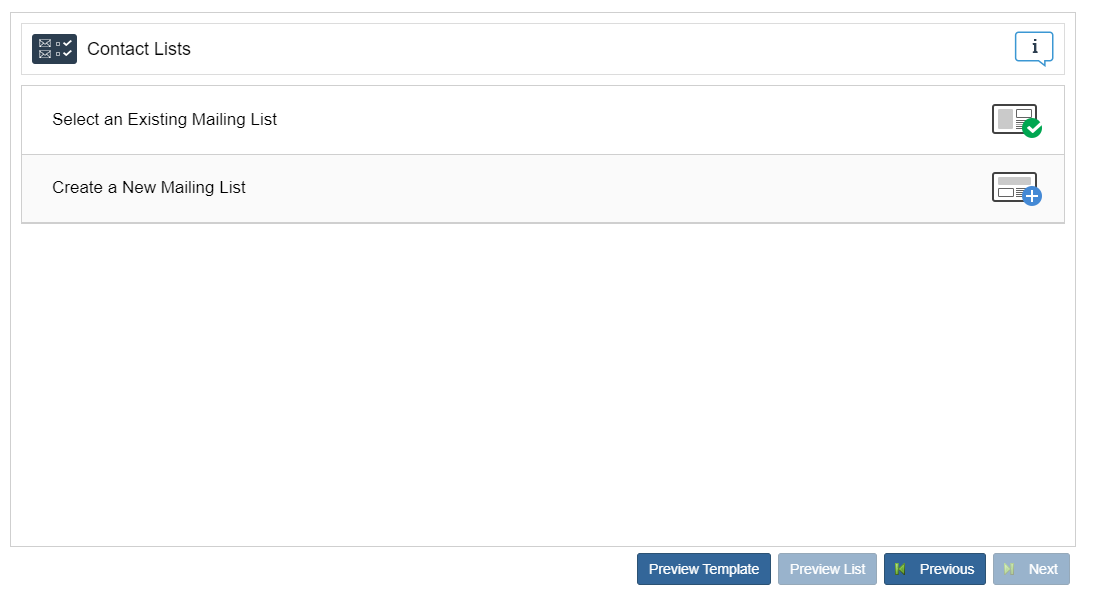
Selecting or Creating a Mailing List
Mailing List will be used to fill in the letter templates with contact data, then are sent to MailChimp, exported as a spreadsheet, printed, or printed as PDF. Because the search criteria are defined for the mailing list (not the actual results), this list is dynamic. So, the recipients in the mailing list can change as the data in the Magazine Manager is updated.
Choose from an Existing Mailing List or Create a New Mailing List, then click Next.
Create a New Mailing List
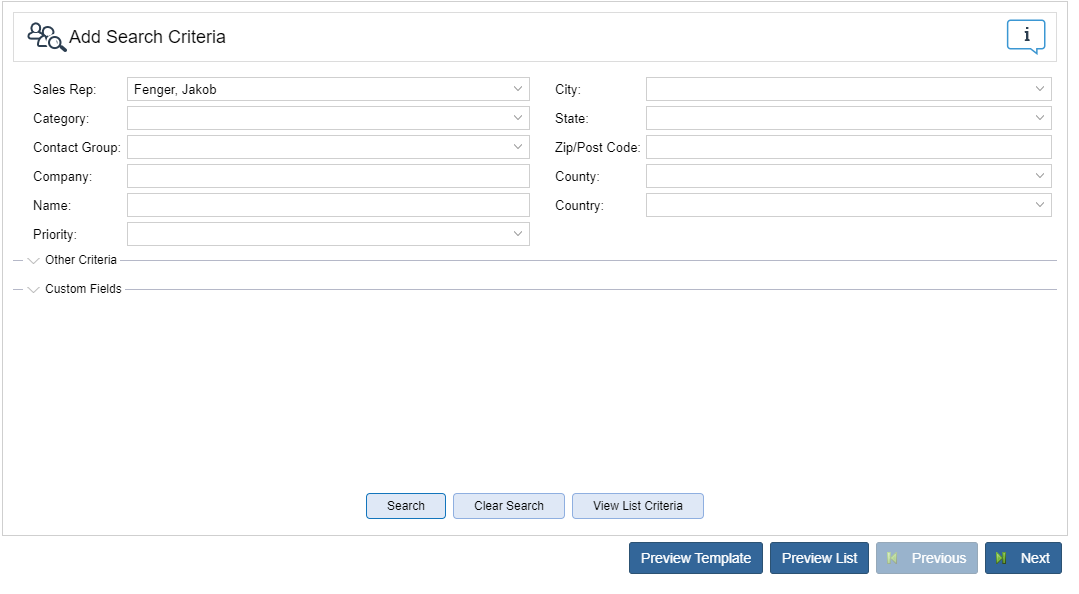
Enter the new Mailing List Name, click the Save List button, then press the Add Search Criteria button in the upper-right corner to begin assembling your mailing list.
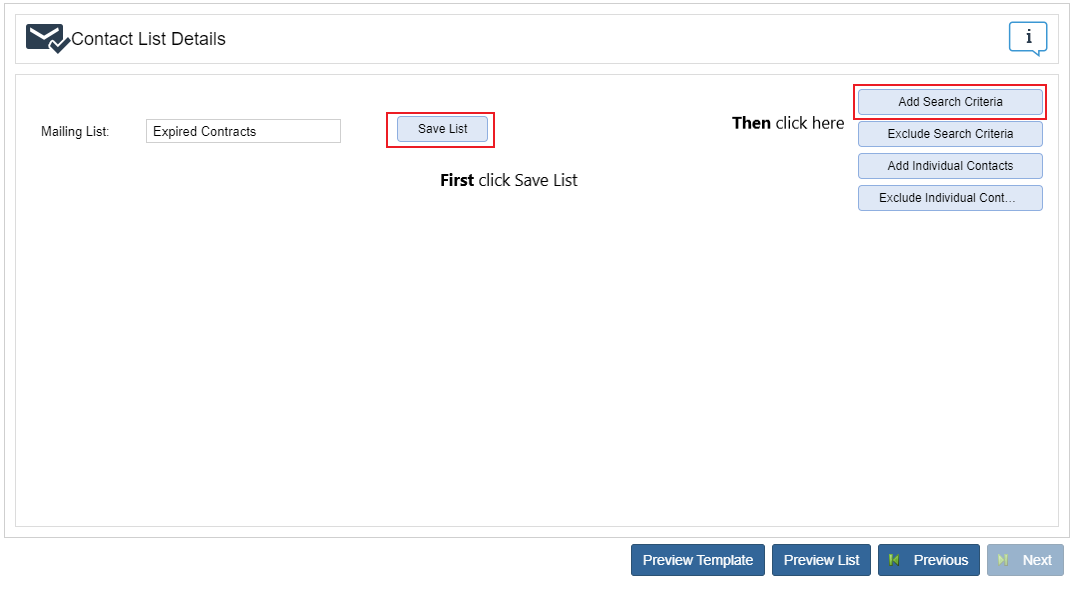
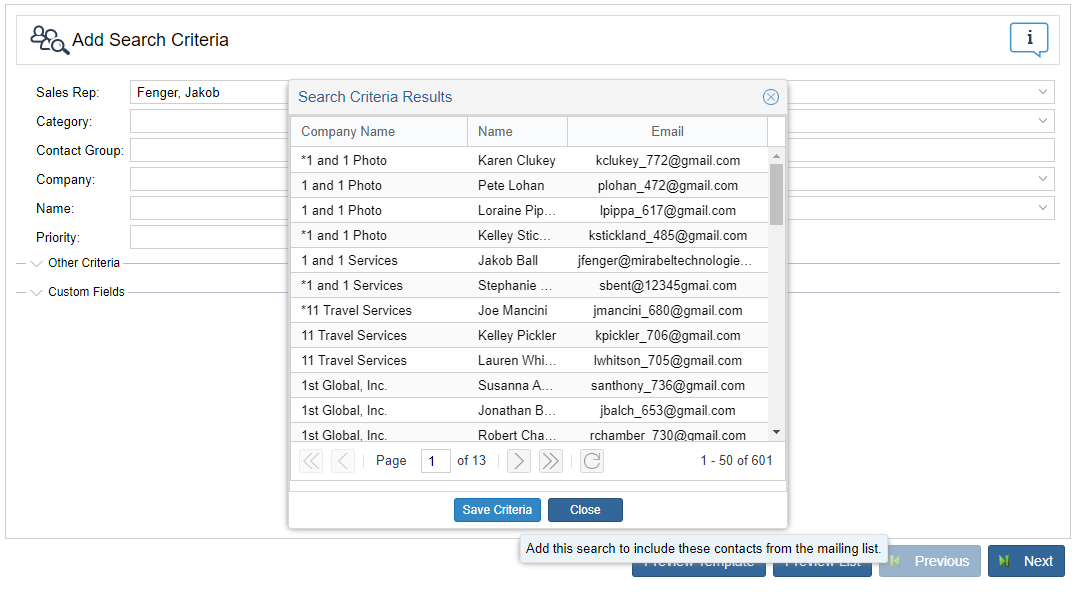
Make selections to start building the list. User’s can pull contact from a specific category, contact group, specific state or county, etc. For example, this screenshot is pulling all of sales rep Jakob Fenger’s clients. Once the appropriate fields are added, click Search, then Save Criteria, and Close. Then click, Next.
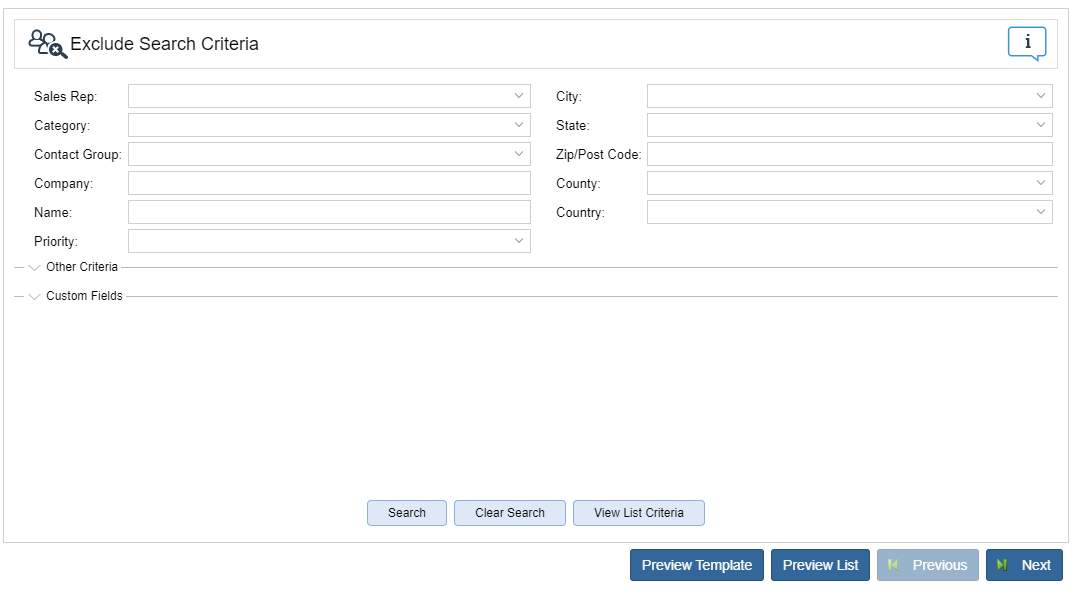
Follow the same steps when Excluding Search Criteria. For example, exclude all anyone with a priority of Out of Business or Bed Debt or exclude all Jakob’s clients from a particular state, category, city, etc. User’s make exclusion selections, click Search, then Save Criteria and Close. Then, click Next.
Follow the same steps for Add Individual Contacts and Exclude Individual Contacts. User’s can then review all Search Criteria, the Mailing List Title, Preview Template and Preview List to make changes if needed. Then, click Next.

User’s can then choose what to do with the list. If creating an email blast, selecting Send to MailChimp will allow users to send an email blast right away or schedule it for a future date. If selecting Send to MailChimp, users will fill out appropriate fields, then Send Campaign. Detailed metrics will be available in MailChimp as well as Magazine or Newspaper Manager.
Select an Existing Mailing List
Users can select an existing mailing list as well.
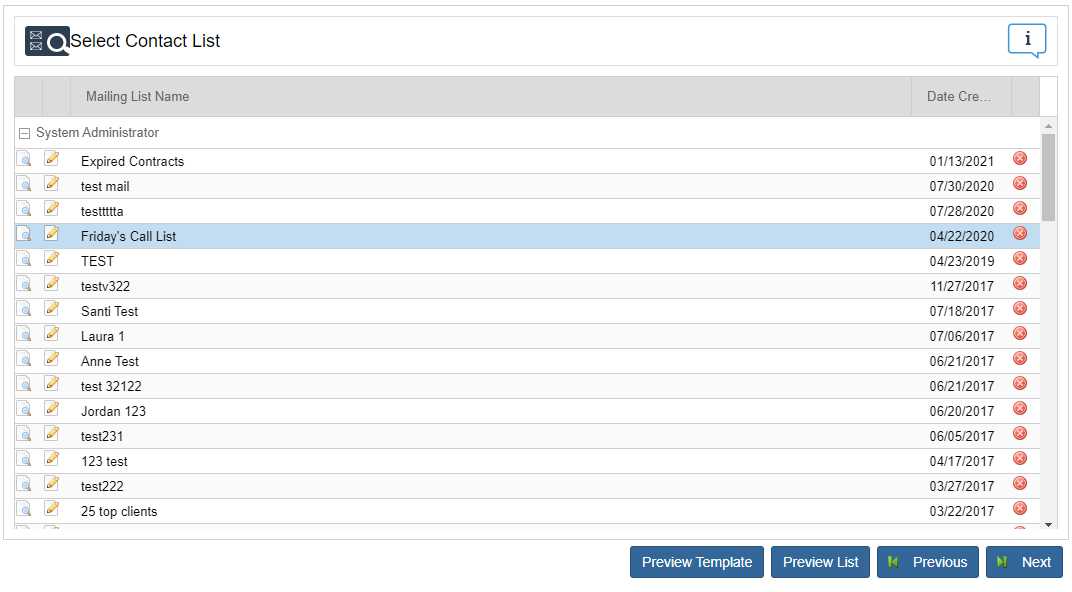
Then, select what they would like to do with the list.
For more information of additional training on how to use the Dynamic Search Wizard (F.K.A. Mailing List Wizard), don’t hesitate to contact your Software Consultant!
We want to hear from you!
videos relating to


