Admins have the ability to add and configure different types of products in the CRM.
Navigation: Website Setup >> Ad Sales Management >> Products
This will open the Products Page displaying the existing products, along with additional details such as schedules, business units, rate cards, categories, magazines, and status.
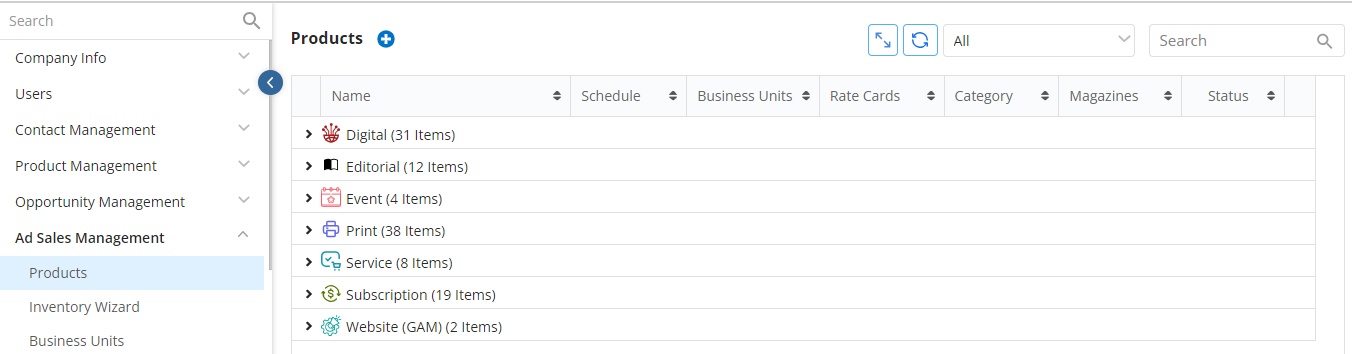
- To the top right of the Products Page, an Expand All/Collapse All button is available to allow users to easily expand or collapse the groupings along with the Refresh icon.

- Beside the Refresh icon, there are two fields:
- Active/Inactive Product dropdown: This drop down will allow admins to filter according to active products, Inactive products, or display all products. By default, the page will show all the active and inactive records.
- Search field: Through here, admins will be able to search all Products, regardless of Product Type, by name.

- To Edit an existing product, click the pencil icon to the left of the Product, and to delete, click on the red trash icon.

How to Add a New Product
To create a new Product, hover on the blue plus icon in the top left corner and select to create a new Print, Digital, Subscriptions, Website(GAM), Event, Editorial or Service Products.
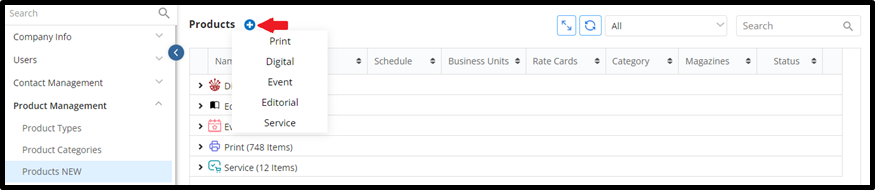
- Once the option is selected, it will open the Add Product page.
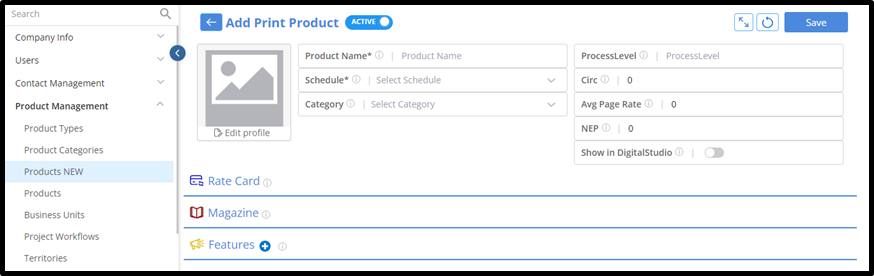
The following are displayed with an info icon to display the Tool Tips for the respective product types:
Print: Product Name, Schedule, Category, Process Level, Circ, Avg Page Rate, NEP and Show in Digital Studio appear
Digital: Product Name, Schedule and Category
Subscription: Product Name, Schedule, Category, Sub Primary Vendor
Website(GAM): Product Name and Category
Events: Product Name, Category and Primary Vendor
Editorial & Service: Product Name, Category and Primary Vendor
NOTE: Schedules can only be set during Product creation and cannot be changed upon edit.
- At the top of the page, the Active/Inactive toggle appears where admins can easily set the Product to Active or Inactive, along with the ‘Save’ and ‘Reset’ options.
NOTE: If you click to Reset BEFORE saving the Product, all of the fields will be reset including the Product name and the selected Rate Cards & Magazines.

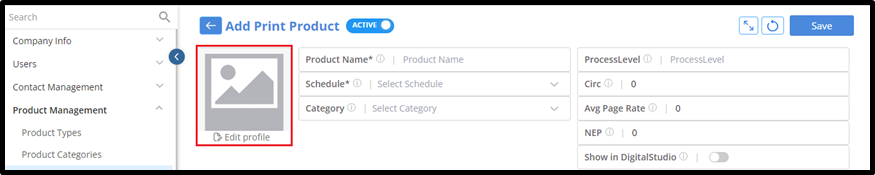
- Admins can edit and upload a photo to the Product, with the maximum file size of up to 10 MB.
How to Select Rate Cards for a Product
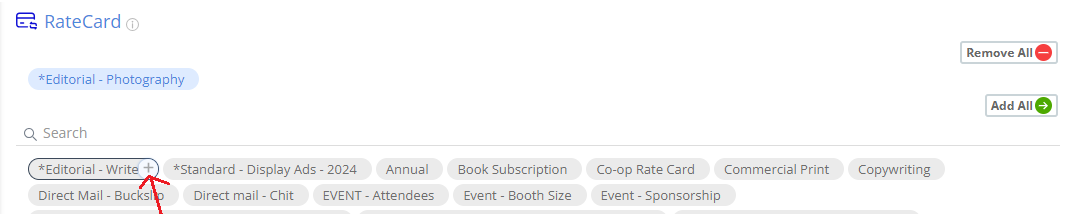
Beneath the product Information in the Add/Edit Products Page, admins will see a collapsible section, named ‘Rate Cards’. All the Rate Cards created in the CRM will be displayed and appear as a rounded bubble. Use the Search field to easily search Rate Cards by name.

To add a Rate Card to the Product, click the + option and to remove a selected Rate Card, click the x option.

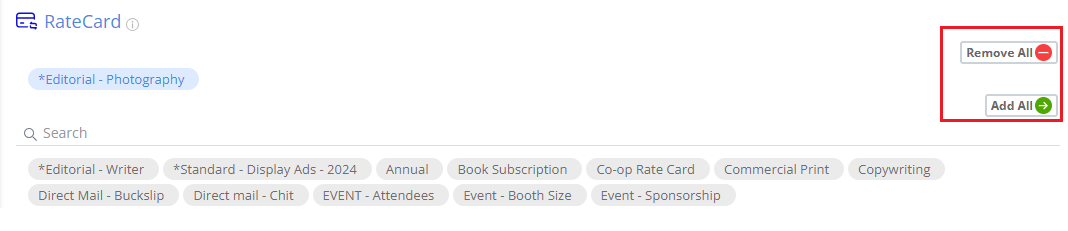
Additionally, to select and add or remove all the Rate Cards at once, admins can use the ‘Add All’ and ‘Remove All’ buttons.
How to Assign a Magazine to a Product
(This is only used in unique legacy circumstances)
To assign a Magazine for a product, click on the ‘Magazine’ collapsible section in the Add/Edit Products Page within website setup >> Ad Sales Management
NOTE: Magazines can only be associated for Print and Digital Product Types.

To add a new Magazine, click the + option and to remove a selected Magazine, click the x option. Additionally, to select and all all at once, admins can use the ‘Add All’ and ‘Remove All’ buttons.
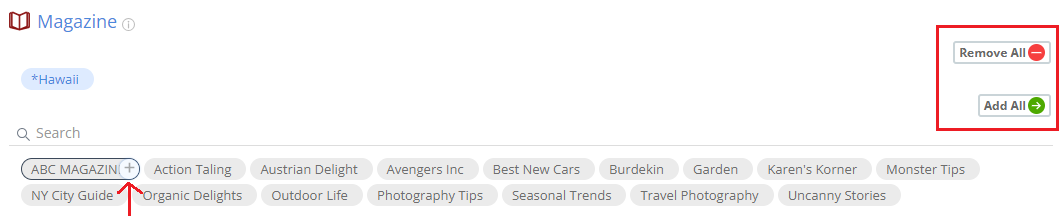
Using the Search field simplifies the process of searching for magazines by name.

How to create a new feature and associate it with a Product
Users can create a Product feature to show up on the checkout pages when purchasing a Product.
To add a new Feature, click the blue plus icon beside the ‘Features’ label for an Add/Edit Products Page. This will open a side panel where they can create a new feature, select availability, and then click ‘Add.’
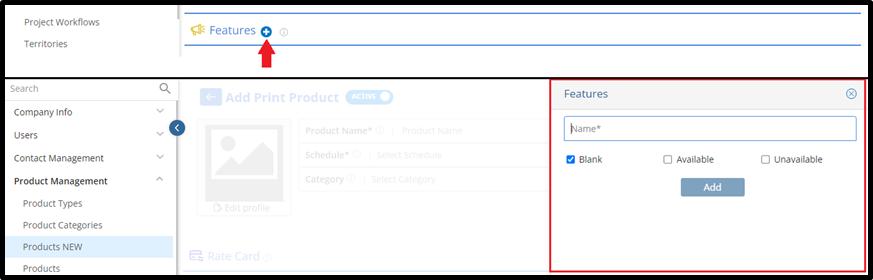
The newly added feature will then appear to the product type under the ‘Features’ section
.
NOTE: As of right now, any changes made within the Features section of a Product will only be visible within the Website Setup

We want to hear from you!
videos relating to


